A Guide to Planning an Awesome Wedding

Tips and Tricks for Planning an Awesome Wedding
Welcome to my Bay Area guide to planning an awesome wedding. Applicable to other regions, but written from the perspective of a Bay Area photographer. Read it. Love it. Share it with friends. Leave me a comment at the bottom with any questions or thoughts. To readers in the LGBTQ community and folks who use non-binary pronouns, note that I use the words bride and groom because I haven’t found an easy gender-neutral alternative. Love is love. People should be able to marry who they want.


Step 1. Find someone to love.
Step 2. Ask them to marry you.
Step 3. Pick a place to get married.
Step 4. Plan an awesome wedding.
Step 5. Get married and live happily ever after.
Where?
Step one, after you have found your partner and you both have said yes to getting married, is figuring out where you are going to have your wedding. Besides the commercial online guides (Here Comes the Guide, The Knot, Wedding Wire, etc), check out photographers’ blogs for location ideas. Once you have figured out where you are going to get married, everything else is optional. Since you are reading this, I assume you are in the process of planning a kick-ass wedding to celebrate your love. Keep reading.
Ask For Help.
Even simple weddings are a big undertaking. Don’t take it all on yourself. Let other people help you. Ask friends who they hired for their weddings. Ask your photographer for their vendor list. This is a great place to find florists, DJs, caterers, and other great wedding professionals all in one place. Narrow your options and live longer. Focus on big things that matter, and don’t worry about the little things that won’t be missed if you don’t get to them (life lesson). Don’t sweat the small stuff. Having shot over 150 weddings, I know there are simple things you can do to improve your wedding. Read on and enjoy less stress while planning an awesome wedding.


A Well Thought Out Timeline
A well thought out timeline will help keep your day running smoothly, reduce stress, and make for better pictures. It can also be the backbone of planning your wedding. It doesn’t need to be complicated. There should be enough time to photograph the key story elements of the day, get the essential posed portraits, and give you lots of time to spend with your friends and family. When drafting a timeline, I like to use the ceremony as a starting point and work in either direction from there. When deciding on your ceremony time, make sure to take into consideration the sunset.
Sample Timeline (This is Gold)
The Morning – Hair and makeup is usually happening for anyone having hair and makeup done. The bride (if there is a bride) should have her hair styled in this window of time.
1-2 Bride gets makeup done, and the groom gets dressed
2-2:30 Bride gets dressed, and the couple does a first look
2:30-3:30 Wedding party and immediate family pictures
3:30-4 Buffer – guests arrive, and the wedding party chills before the ceremony.
4-4:30 Ceremony
4:30-5:30 Cocktails
5:15-5:30 Couple portraits… which can go over a little while guests transition to dinner
5:30-7 Dinner and speeches
7-7:30 First dances (if any) and cake cutting (or pie, or whatever)
8:15 Sunset
8:10-8:20 Sunset couple portraits
7:30-10 Open dancing and whatever else you have planned.
*If there is travel in between venues, this will need to be taken into consideration. This timeline works as a good starting point for 90% of the standard-sized (75-150 guests) weddings that I shoot.
Getting Ready
This is a sweet, casual part of the day that I love. Go for a walk, do some yoga, eat a donut. You’ll get ready—either with your partner or separately. If you have a wedding party, they’ll be getting ready too. The more folks you have around, the more interesting the photos tend to be.
If you’re doing a lot of the setup yourself, you might be running around wondering how it’s all going to get done. But don’t worry—everything will fall into place. Hopefully, your friends and family are there to support you. If you have a planner, they’ll be a huge help during this time.
Once you’re dressed, you’ll do a first look, then gather your immediate family and wedding party for posed photos. I’ll help fix a bridesmaid’s zipper and button your dress—but don’t ask me how to tie a bow tie.


Stay Close Together
It is best when the couple gets ready very close to each other, whether it be in the same room or spaces within a two-minute walk of each other. It should be easy for one photographer to bounce back and forth between the getting-ready locations and capture all the key action. I love it when couples get ready together. Consider that as an option.


Hair Before Makeup
Hair should be done before makeup. I usually don’t photograph hair getting done, because it is not as photographically interesting as makeup. It can also take a lot of time to do hair, and I like to optimize the shooting time in the day and focus on the most noteworthy events. If there are several people getting hair and makeup, the bride should have her makeup done last. This allows for the least amount of time to elapse between the end of getting ready and the beginning of the ceremony.


Eat Now, Eat Later, Eat Often
Make sure to eat breakfast and lunch. If you are ordering lunch, consider asking your photographer if they would like food as well. Keep your calorie count up. Putting on and planning an awesome wedding is a lot of work.


First Look, Wedding Party, and Family Portraits
Do a first look and take posed immediate family and wedding party pictures before the ceremony. After the ceremony, people want to eat, drink, and celebrate. When you do posed pictures before the ceremony, you will have more time in your day to spend with your guests. Doing immediate family photos before the ceremony also has the benefit of getting your family all in one place, so you don’t have to worry about where they are for the beginning of the ceremony.
First Look
Doing a first look before the ceremony has become pretty standard. I am a fan and an early adopter. There is little downside, but a big upside. You get twice the excitement and buy yourself a bunch of time in your day. The first look doesn’t need to be a super orchestrated event. It is a special moment where you see your partner for the first time on your wedding day in their finery. Once you have seen each other, take wedding party and family pictures.


Immediate Family and Wedding Party Portraits
Take off your sunglasses—and don’t just push them up on your head. Spit out your gum before portraits. Keep bulky stuff like your keys, wallet, and phone out of your front pockets. Tuck them into a jacket or your back pocket. Keep it simple.
You don’t need an elaborate shot list. We’ll cover the essentials: both immediate families with the couple, each immediate family separately with the couple, the whole wedding party with the couple, and each partner with their respective attendants. If grandparents are present, let’s make sure to get portraits with them too.
To keep things quick and smooth, choose a portrait location that’s close by, flat, and evenly lit. I start with basic “stand in a line” shots to cover the must-haves. If there’s time, I’ll get more creative. Once we’ve got the essentials, we can always add more portraits if you’d like.
 Groom immediate family + couple.
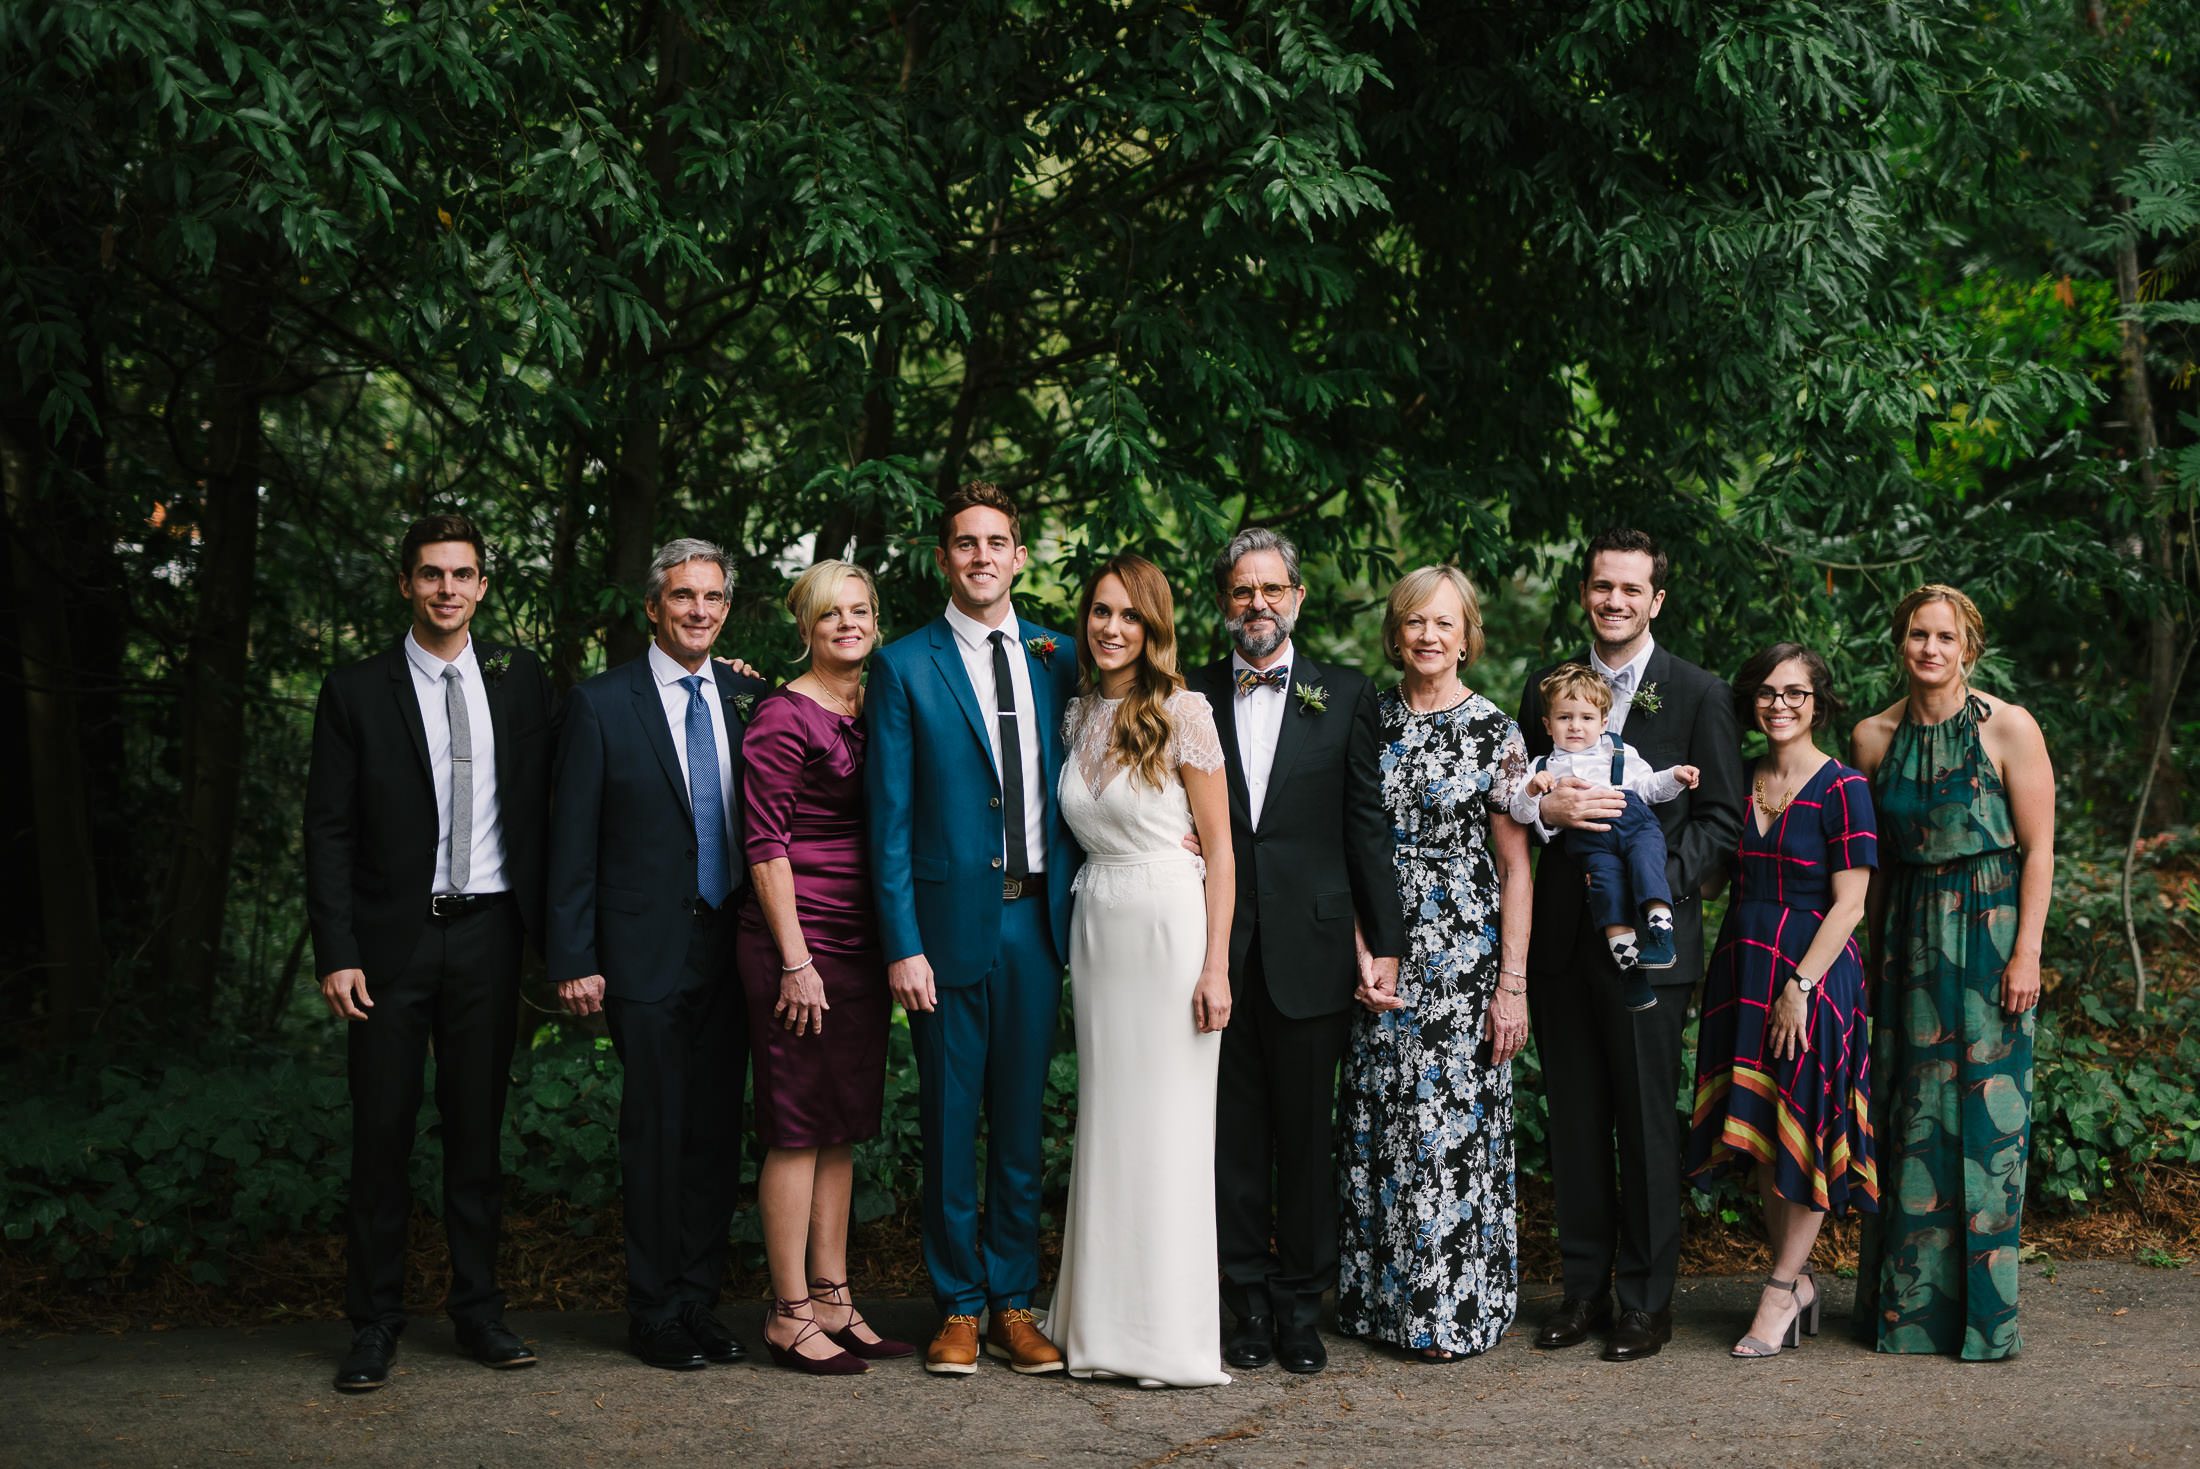 Both immediate families + couple.
 Bride immediate family + couple.
 Groom + groomsmen.
 Entire wedding party.
 Bride + bridesmaids.
 Bride + groom + groomsmen.
 Groom + groomsmen.
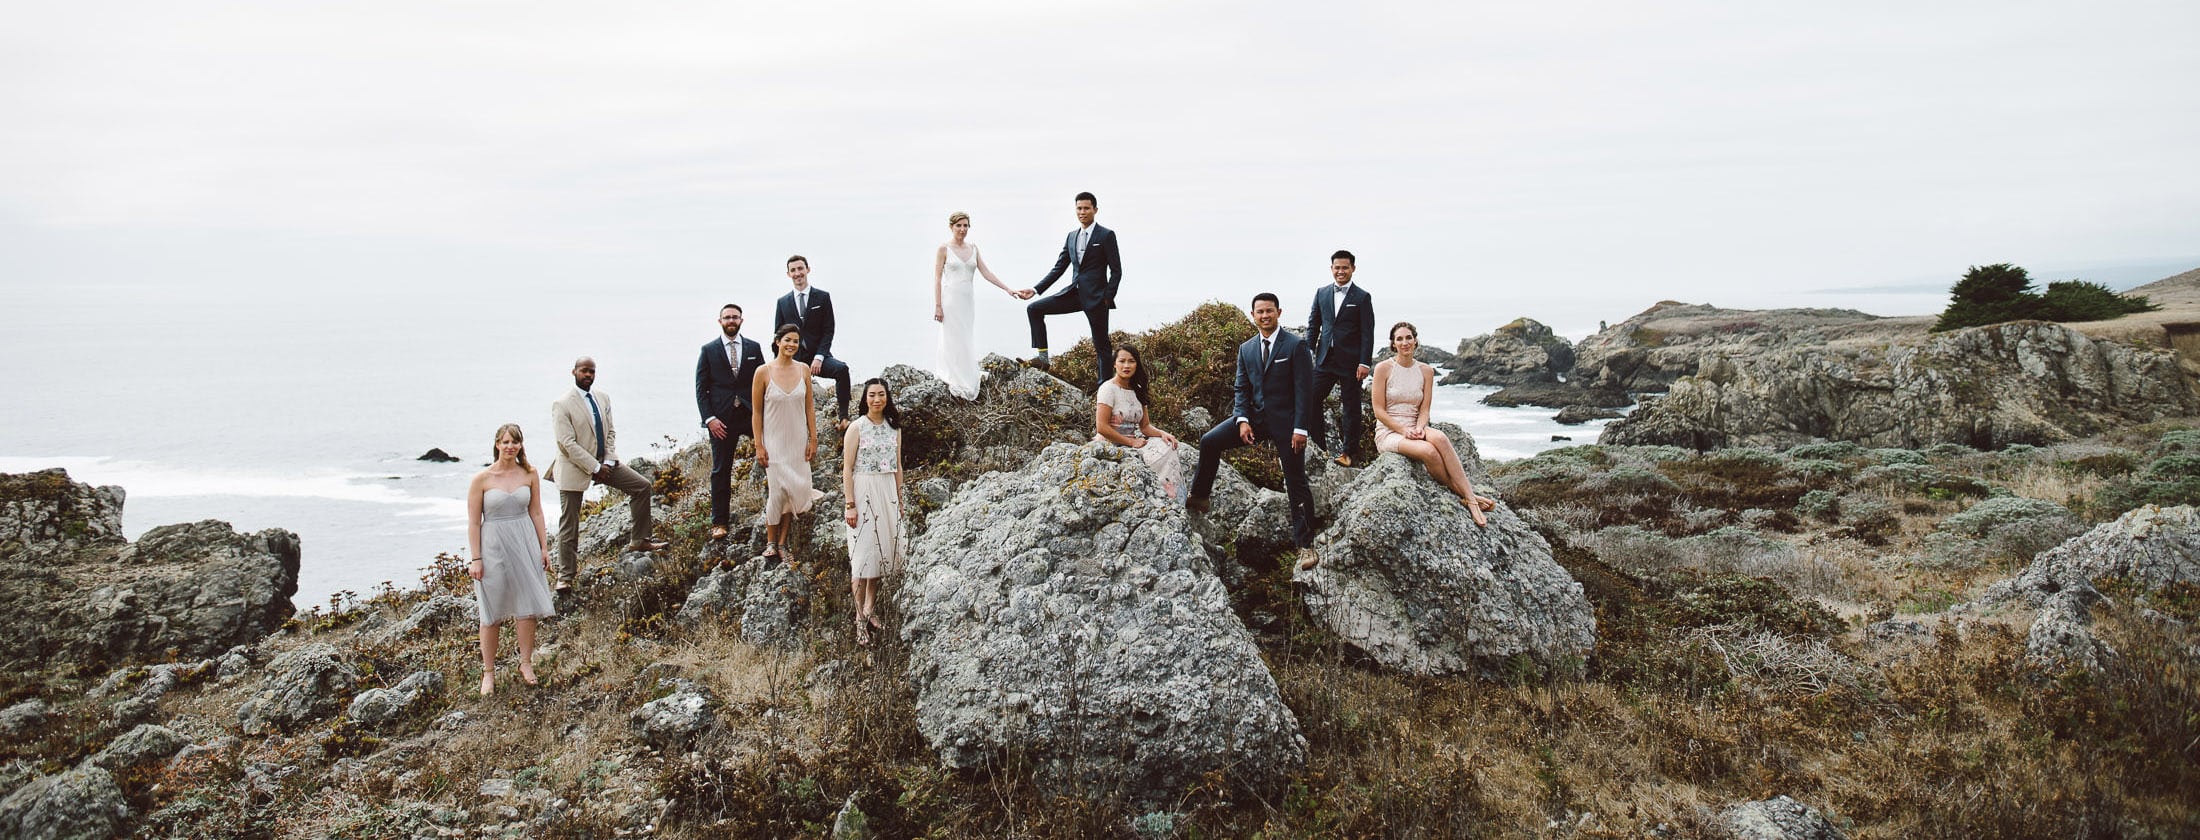
Epic Sea Ranch wedding party portrait.
Buffer Time!
Buffers in the day are super helpful. Because hair and makeup can run late, or getting into a wedding dress can take more time than anticipated, I always add buffers into my timeline. A 30-minute buffer before the ceremony is essential. This is the time when guests will be arriving, and couples often will tuck away with family to get ready for the ceremony. If pre-wedding preparations have run late, we can use this buffer time for posed pics. I like a tight timeline, but having some extra time to allow for things running late will make your day much less stressful.
The Ceremony
Ceremonies tend to be relatively short these days. People do readings or they don’t. People hire officiants or have their friends or family members officiate their weddings. I shot one wedding where the couple had no officiant. However you structure your ceremony, there are some little adjustments that you can make to improve the experience for yourself and your guests while making it easier to photograph. Planning an awesome wedding ceremony doesn’t have to be complicated.
Little adjustments to improve your ceremony
Have guests move forward to fill open seats.
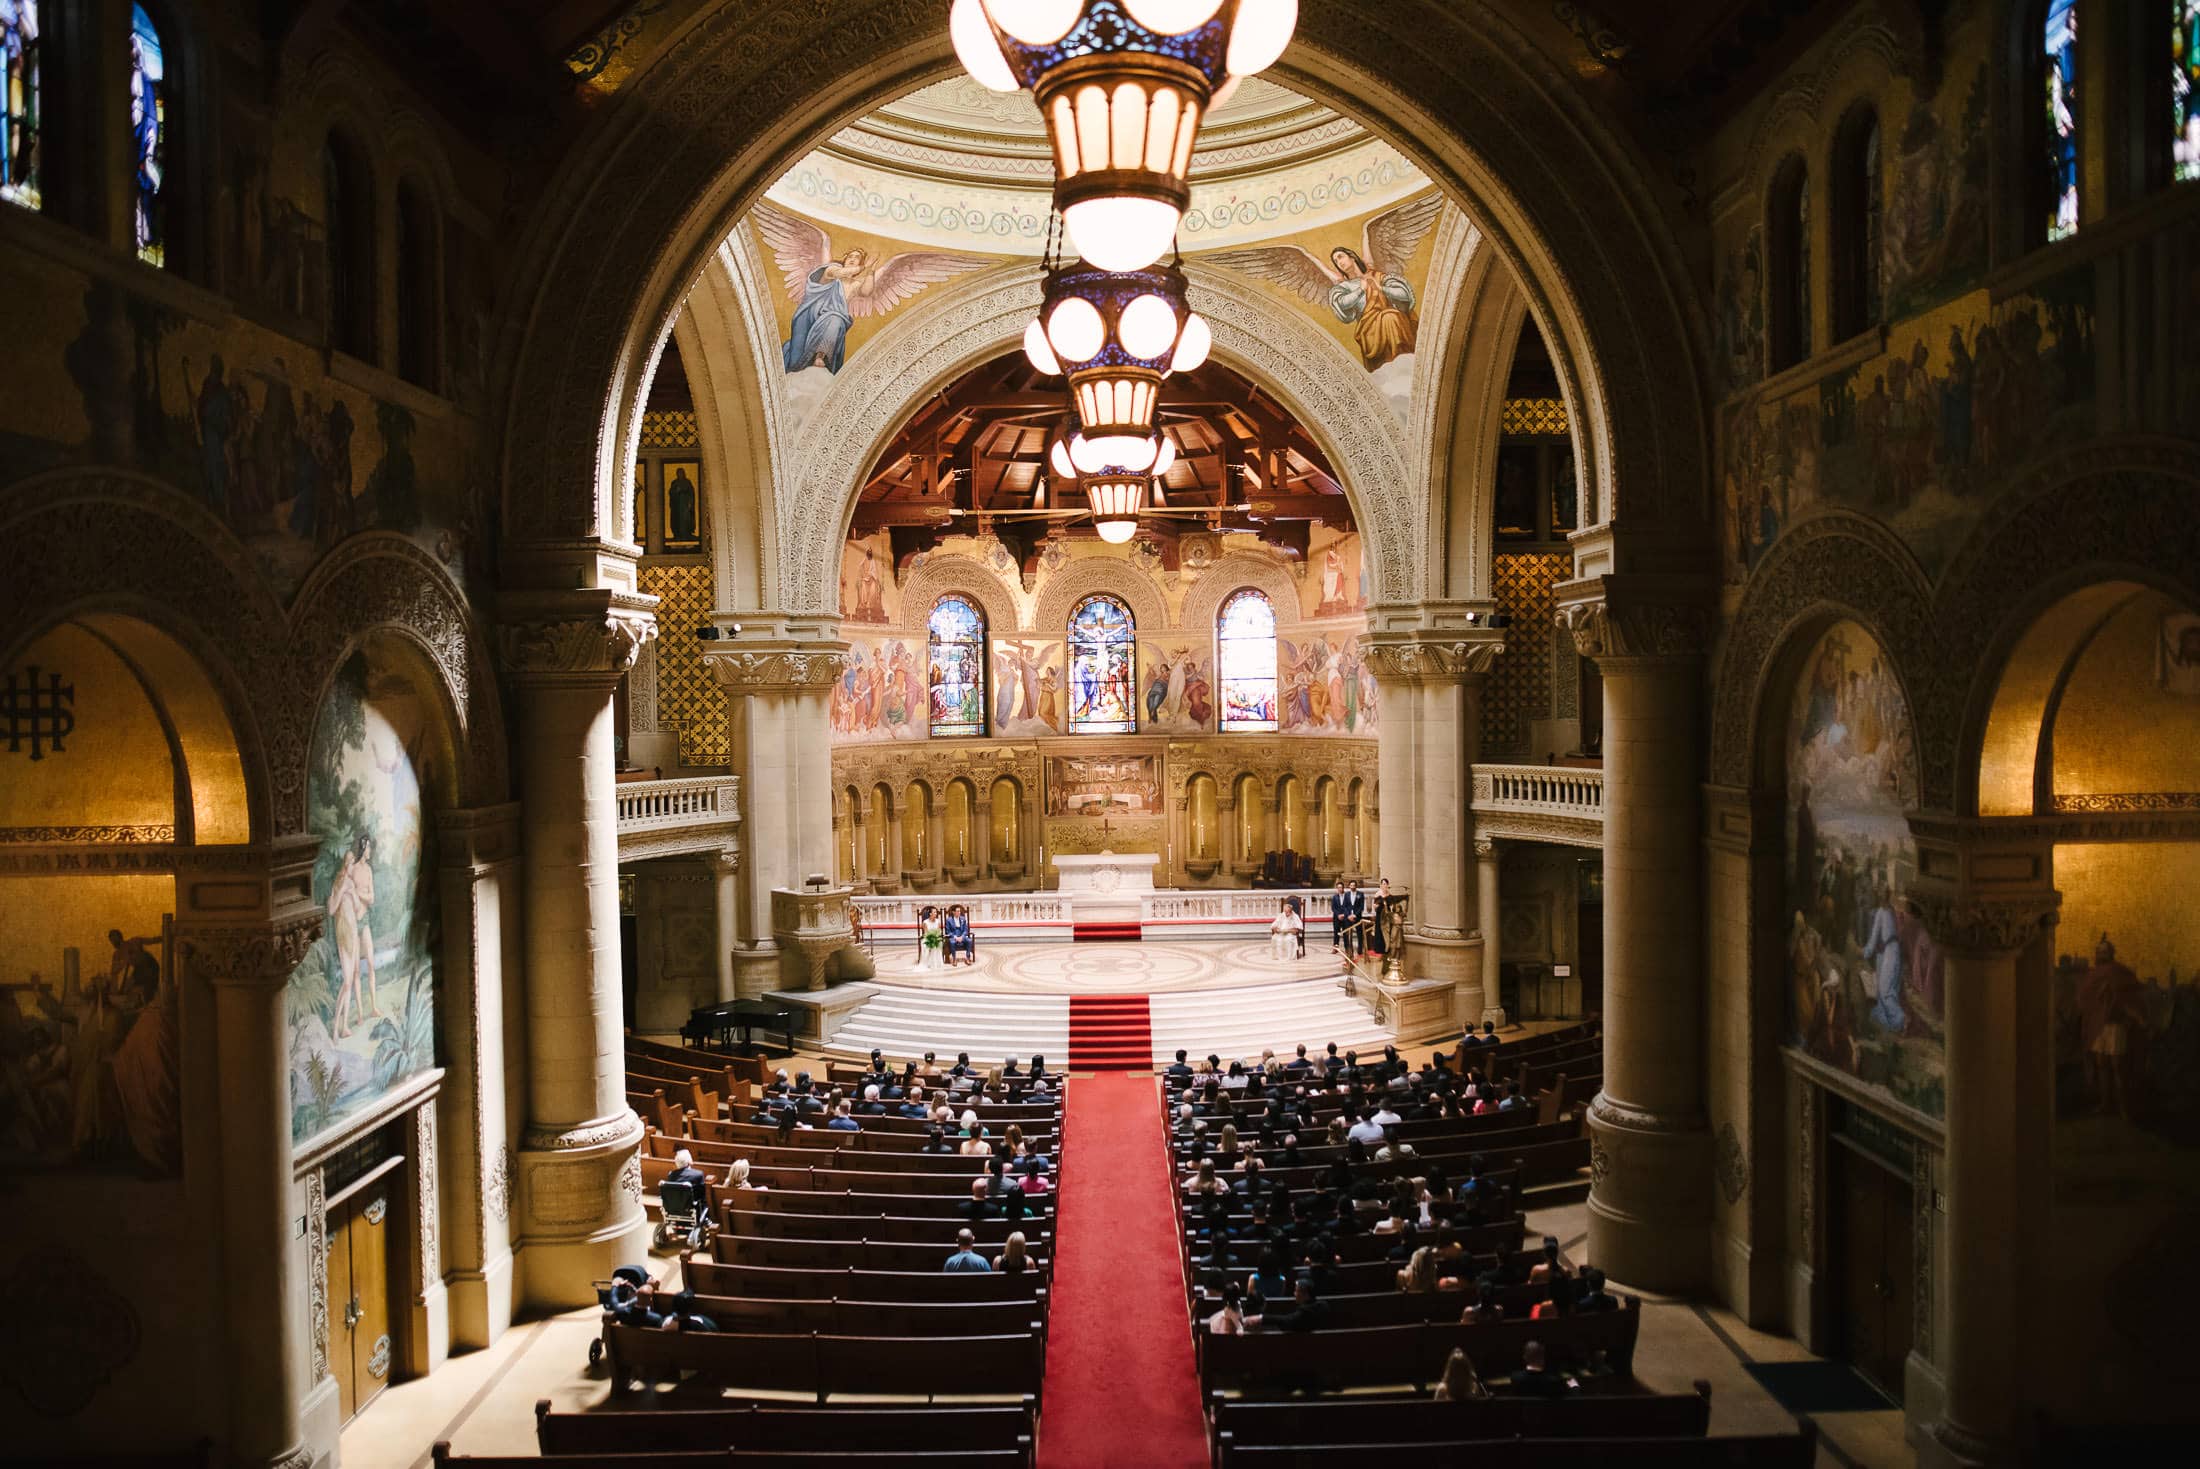
There is a ton of open space between guests in this picture. Ask people to move forward and fill in the gaps.
Make sure people can hear you.
 Consider amplification for your ceremony so your guests can hear you. Just make sure to remove the mic before the kiss.
Remind your officiant to instruct guests to take their seats after the bride enters.
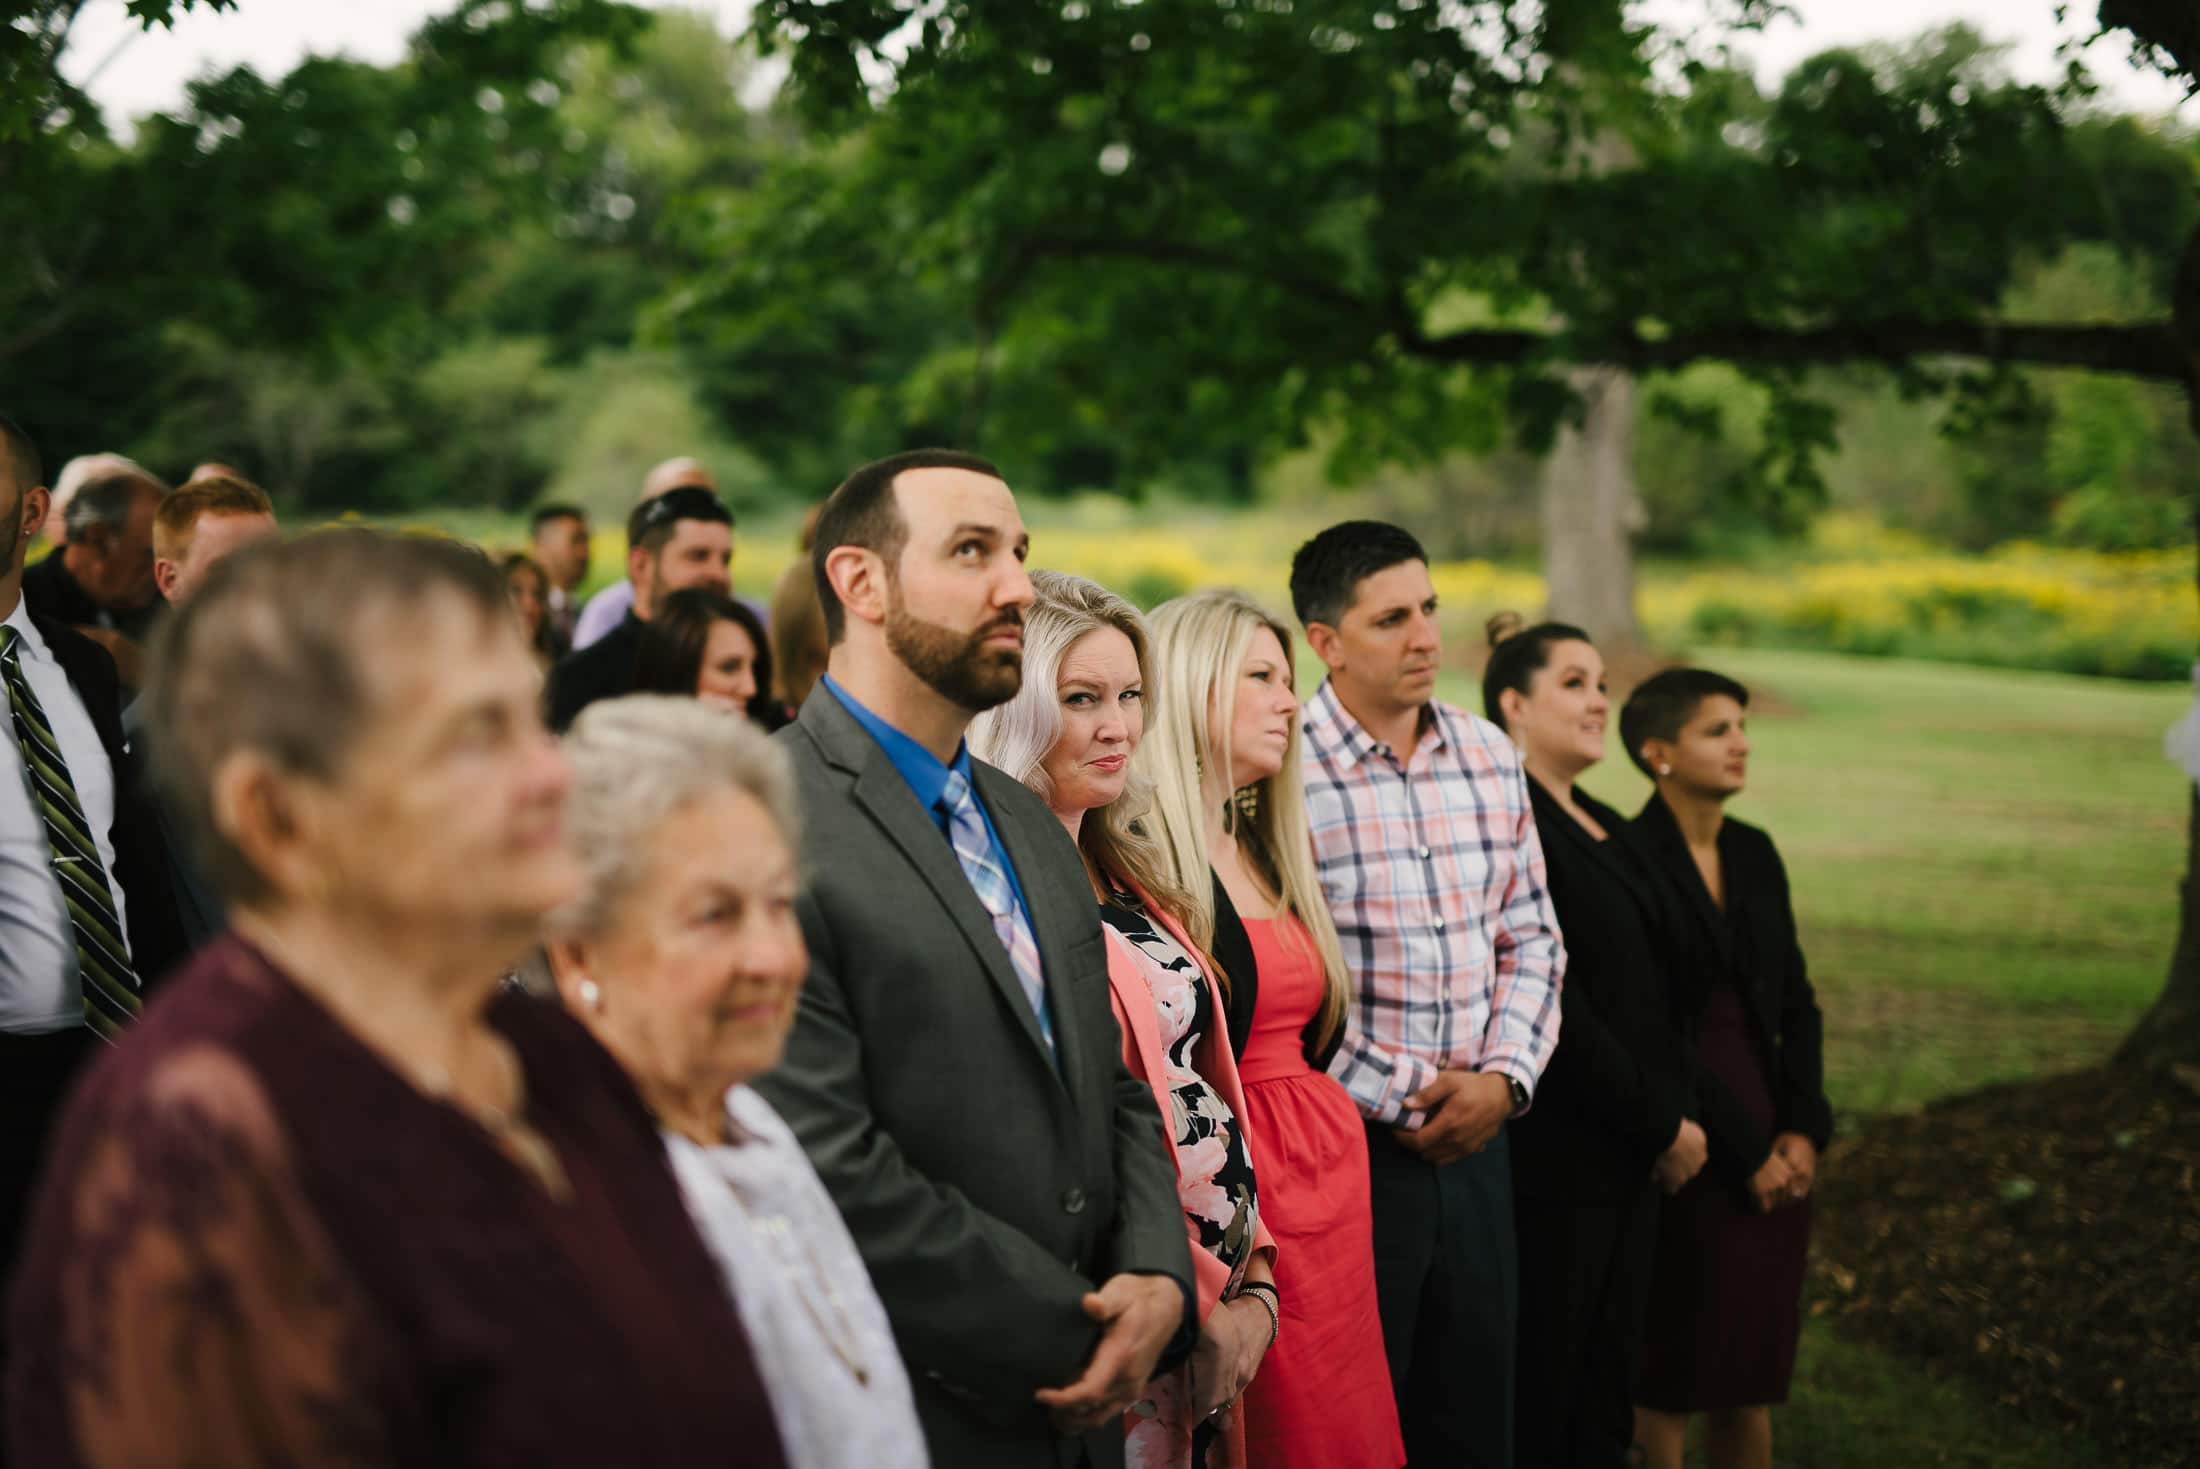
The ceremony has started, and most of these people are wondering when they can sit down.
Set ceremony seating in a semicircle rather than a square or rectangle.
 Curved seating at Montalvo Arts.
 Curved Seating at Saratoga Springs Picnic Area
Ask the officiant to move to one side for the kiss.
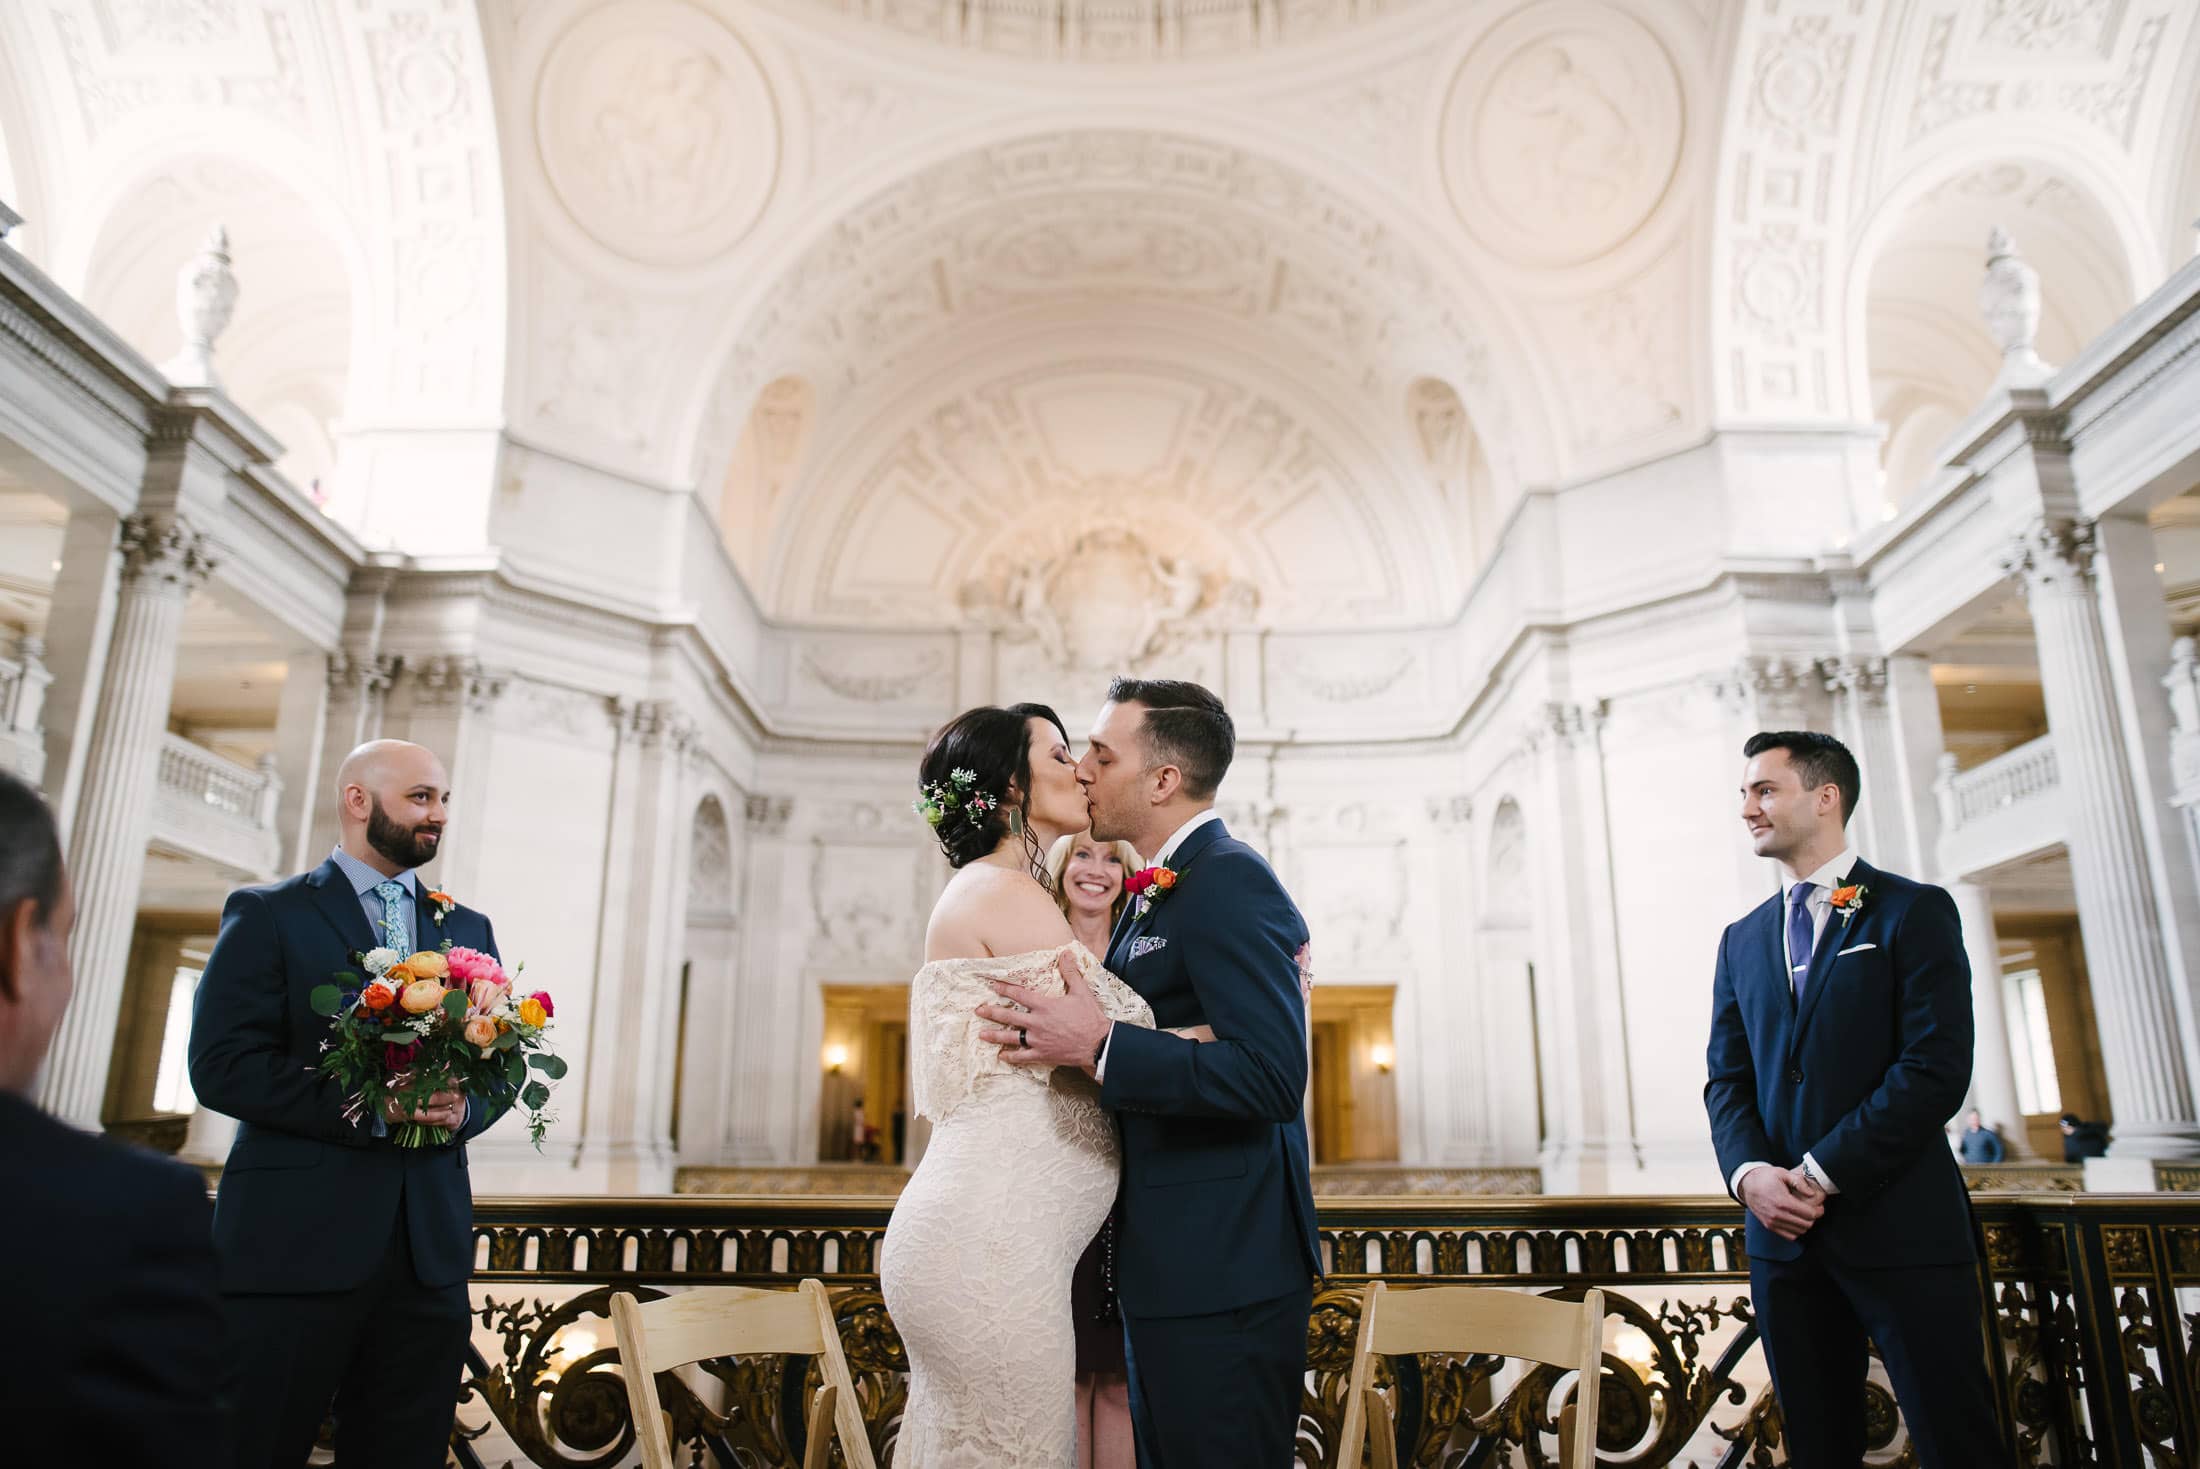
The officiant in the background has a great smile, but this would have been a better picture if she would have been standing to the side.
If your hair covers half of your face, make sure that the other half is facing your guests.
This is an extreme example to illustrate my point. In this picture, Jennie’s face is totally blocked by her hair in this sweet City Hall wedding.
Ask people to turn off their cell phones during the ceremony.
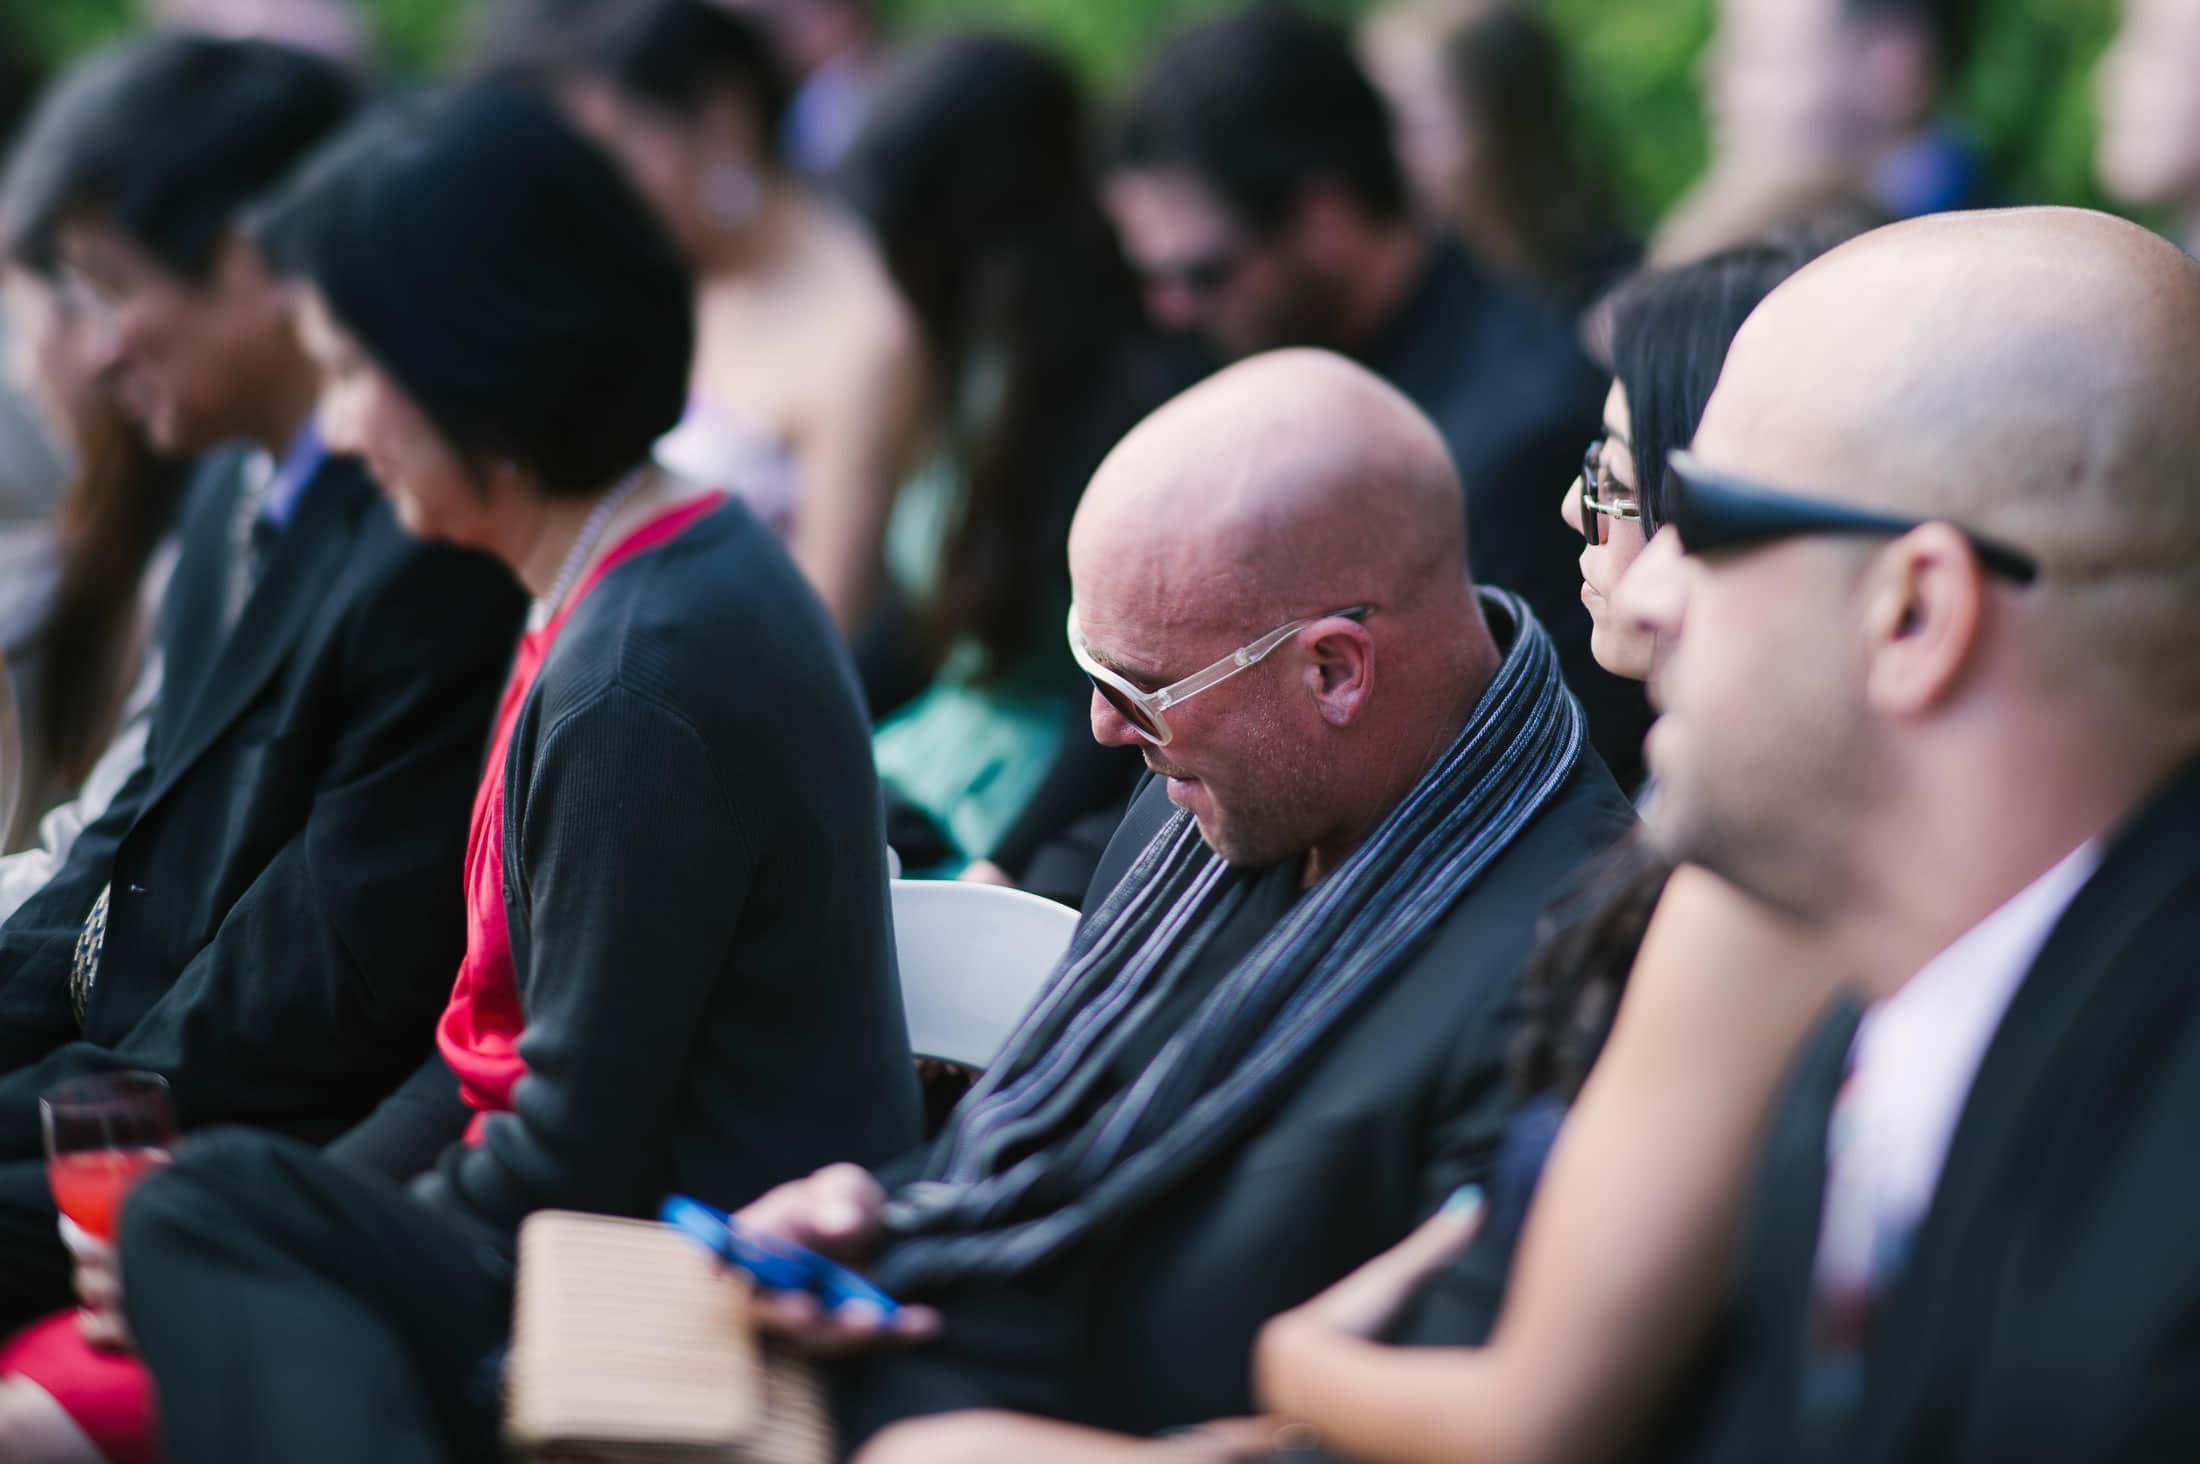
This guy was checking his Facebook feed during the ceremony. Have people take a cell phone break during the ceremony and be totally present with you.
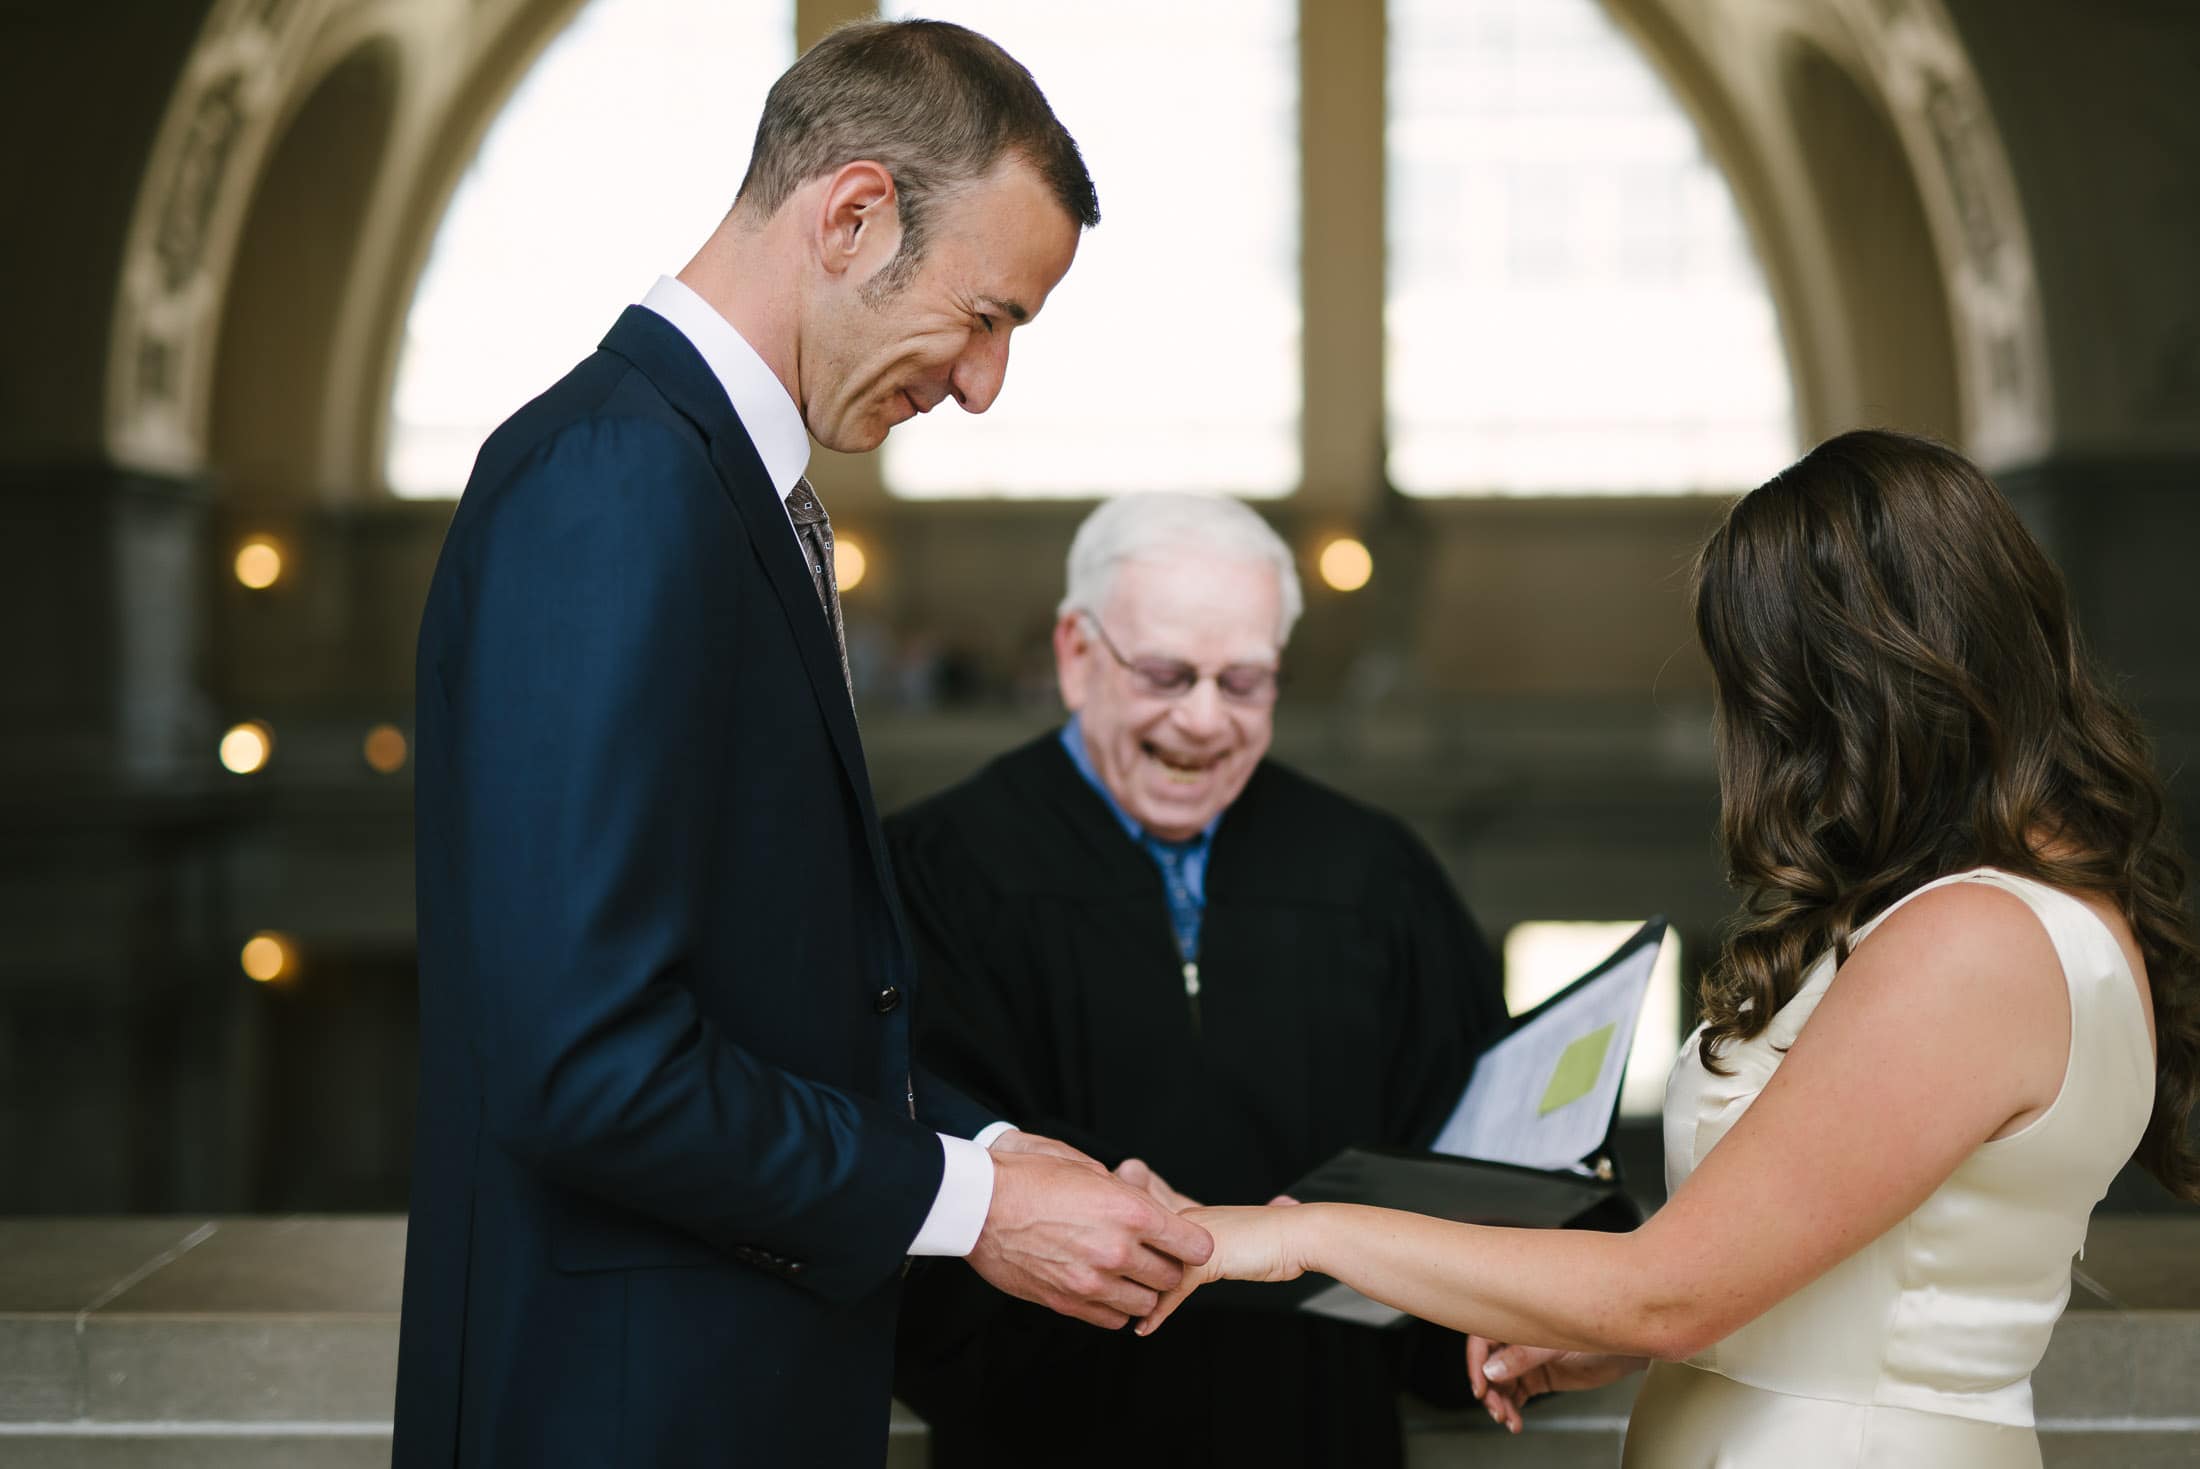
Face your guests while the officiant is speaking…


and turn to your partner for the ring exchange and vows.


Have the sun on your face or at your back.
Position your ceremony so that you are either fully backlit by the sun or fully lit by the sun. Avoid having one person in the shade and the other in the sun. Make sure you are in total shade if you are getting married under a tree. Dappled sunlight through the trees looks funky in pictures.
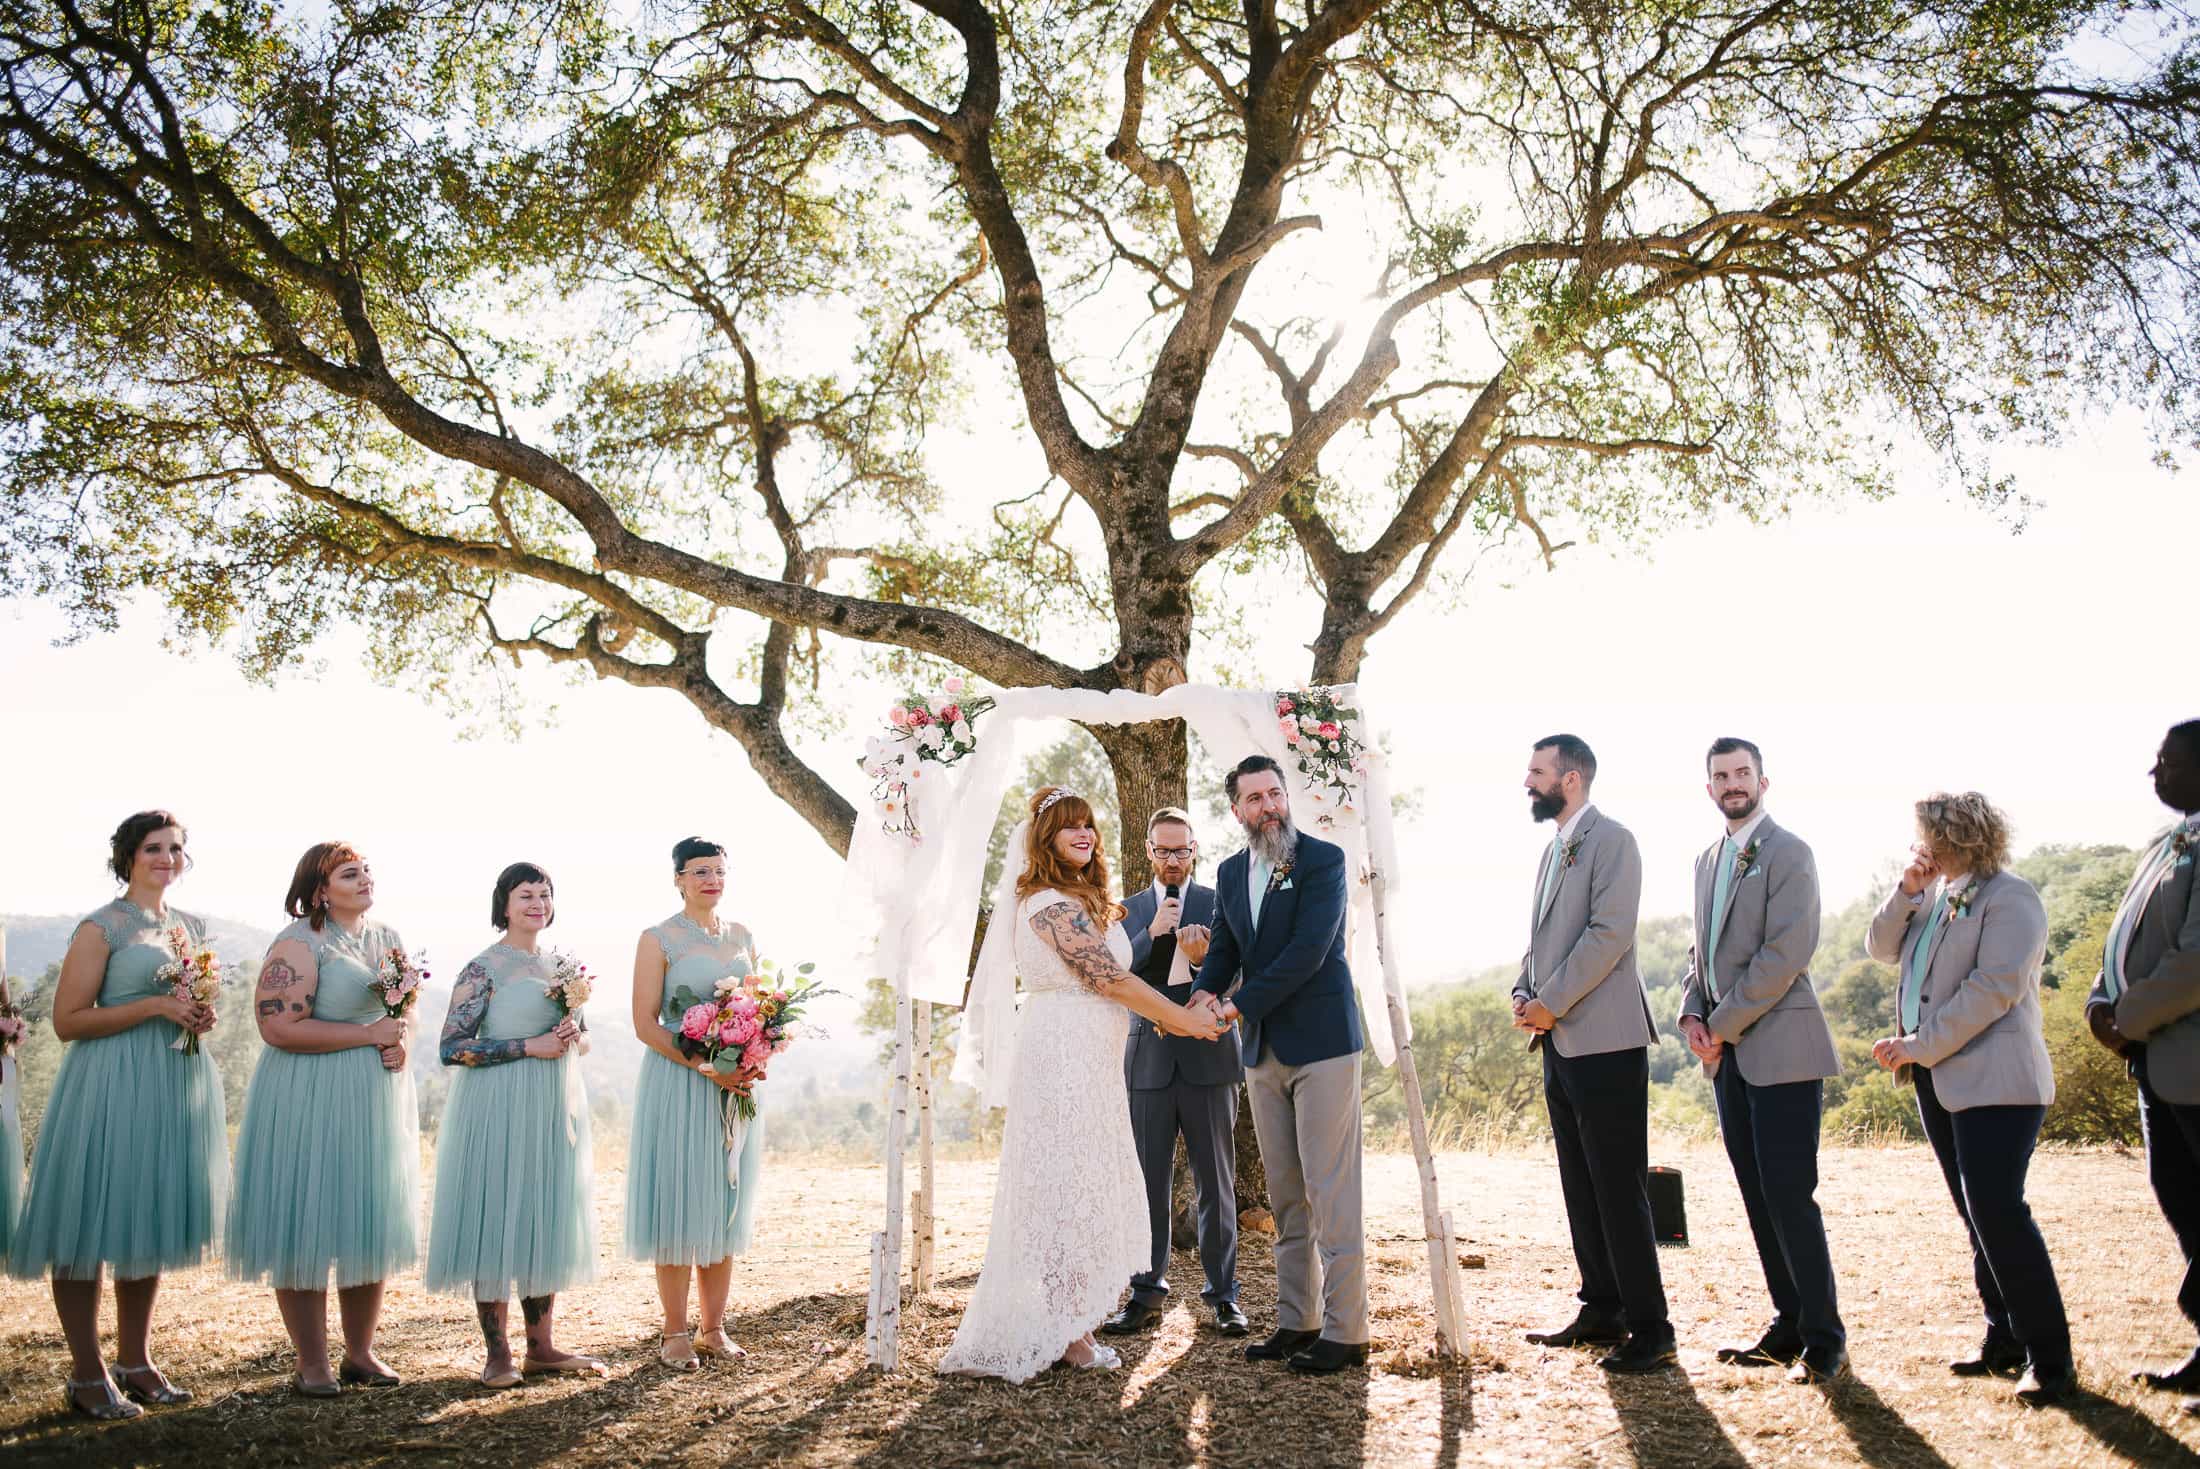
Cass and Seth were both backlit at their Big Table Ranch ceremony near Yosemite.
Center Yourself in the Ceremony Space
People often have visual elements in the ceremony space. An arch, a huppah, flowers, etc, are often part of the ceremony. In the image above, Cass and Seth are centered right in that space. Also, the aisle should line up with any visual elements in the ceremony space. When a couple is out of line with the aisle or the symmetrical visual elements, it disrupts the harmony of the image.
 Groom is not aligned with the flower arch.
The Cocktail Hour
The cocktail hour is the time of the day when people get to relax, have a bite, and enjoy a drink and a good story with old and new friends. You have done your immediate family pictures and wedding-party pictures and can enjoy a drink, a bite to eat, and revel in the fact that you just married the person you love. Some couples take a few minutes after the ceremony to themselves. If you are going to do a big group shot, directly after the ceremony is the best time to do that. Getting a picture of everyone at your wedding in one photo is incredibly efficient photography, and it is fun.
Couple Photos at the End of Cocktail Hour
If your cocktail hour is well before sunset, consider stepping away toward the end for some couple photos. It is better to do two short sessions of couple shots than one long one. Sometimes there is only time for one, so it is nice to steal away when you can. I always find that stepping away from the party to take pictures gives couples a moment to recharge and take a breath.


Everyone in One Photo
Extended family pictures can happen during the cocktail hour or reception. It is best when this happens organically. Have one family member gather the group, have the photographer take the picture, and then everyone goes back to the party. But really, the best way to get a picture of all the guests at your wedding is to take one giant group picture right after the ceremony. Get that shit done so you can get back to your party.


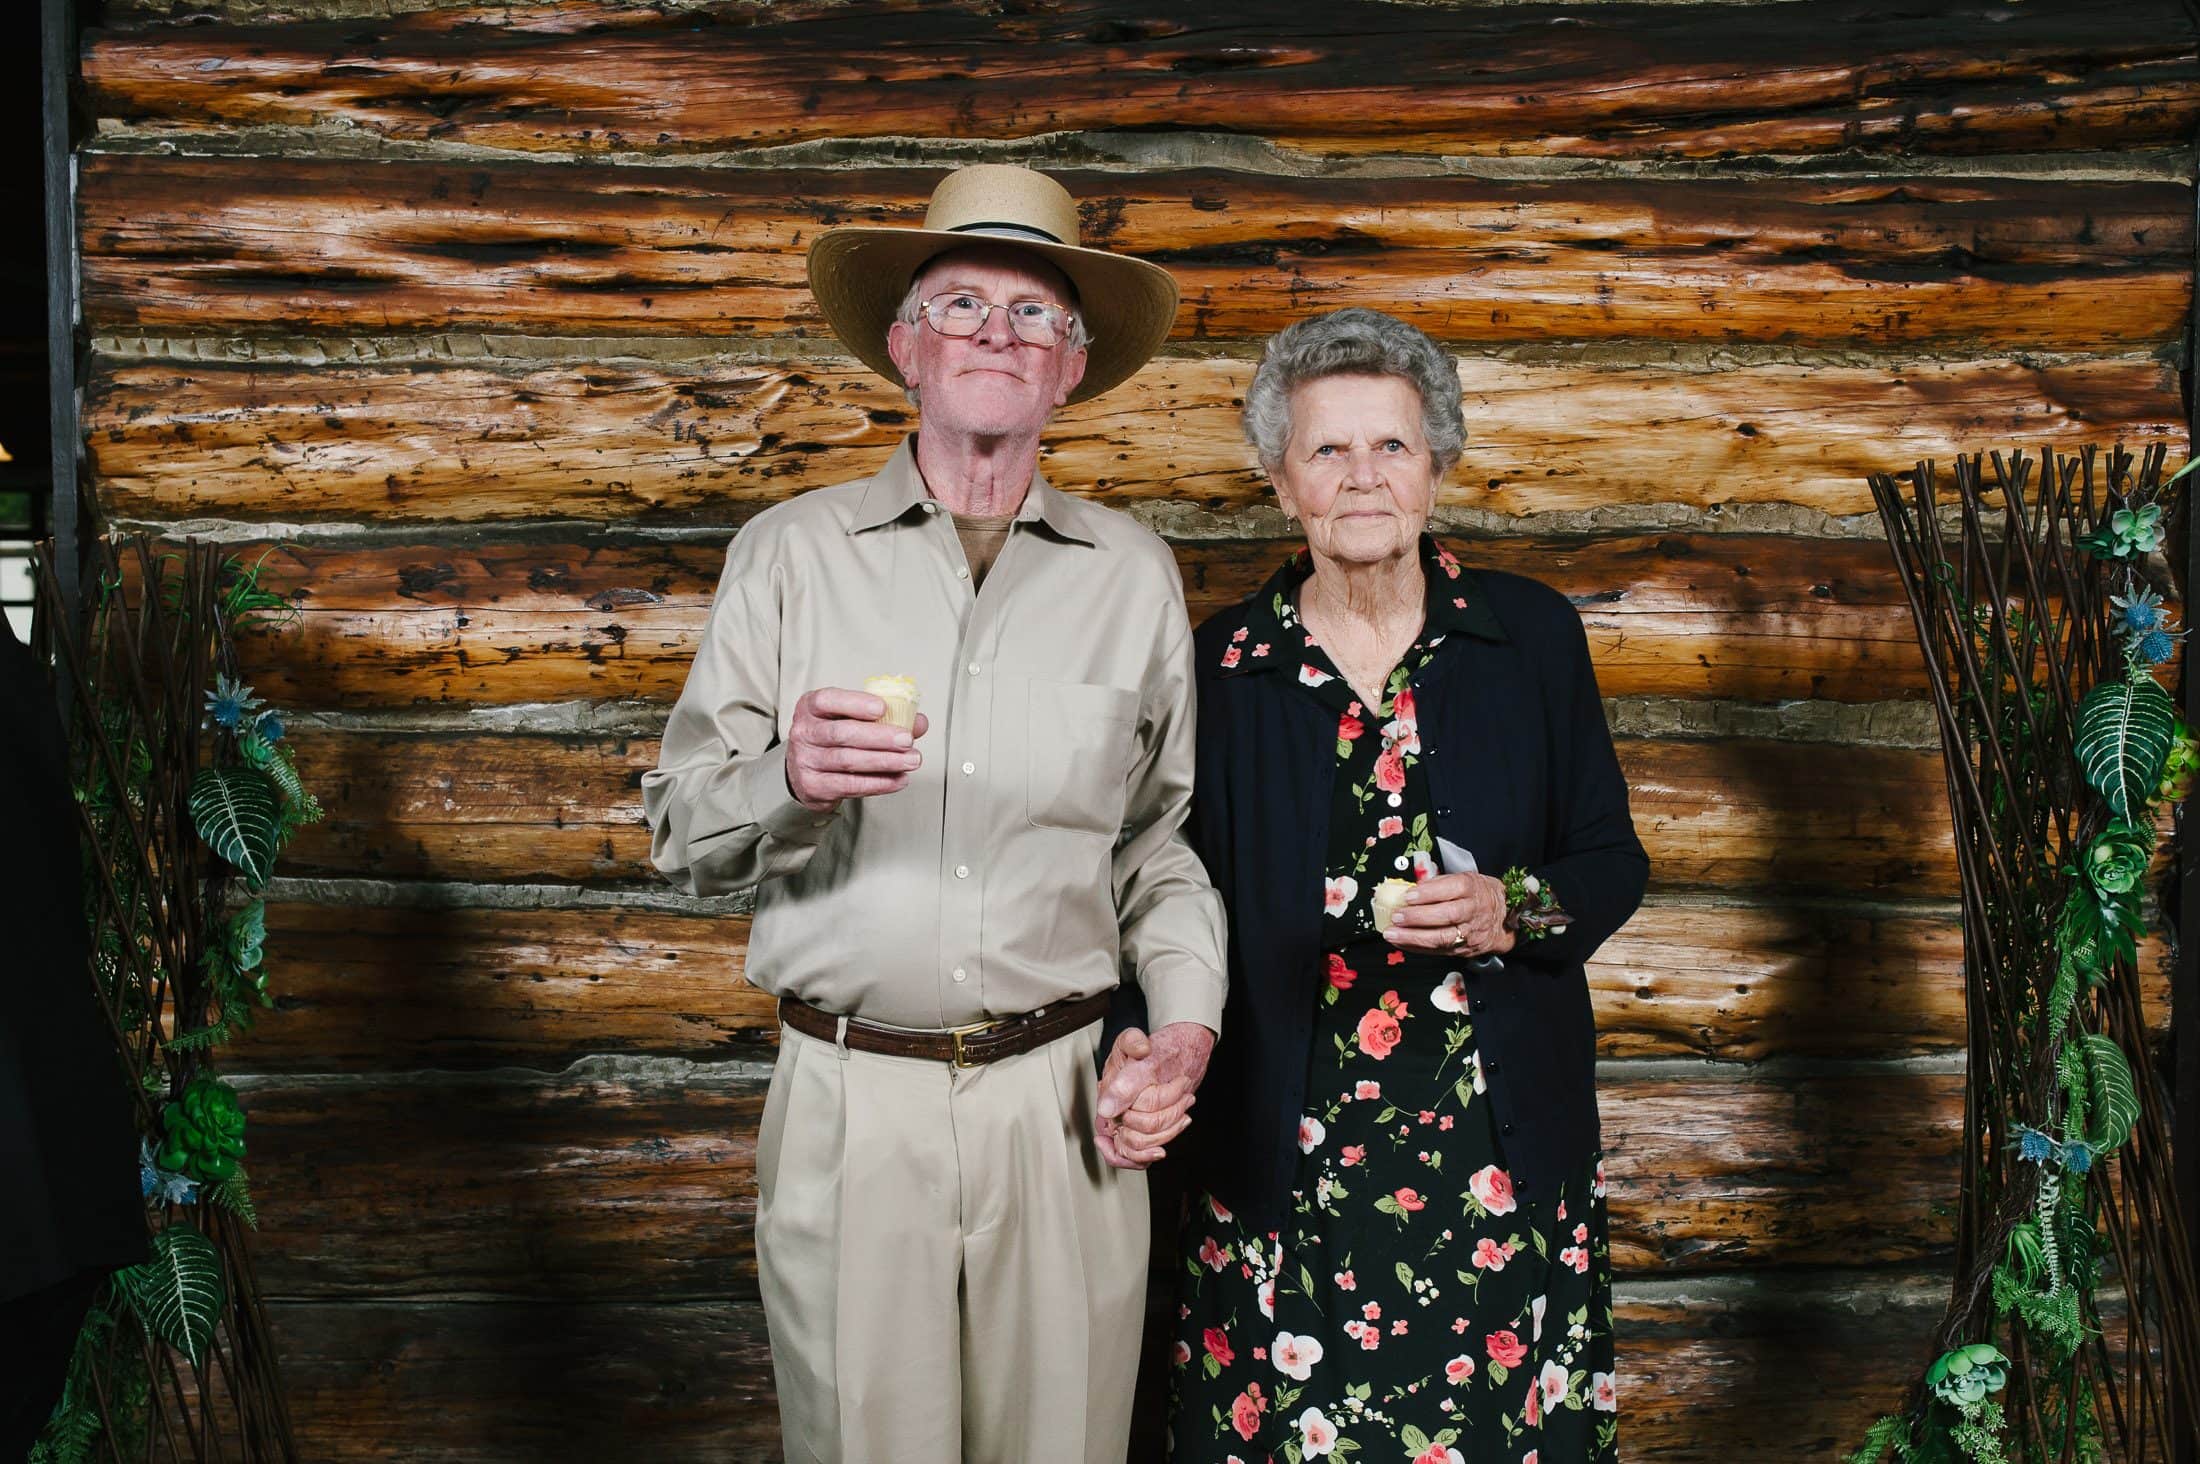
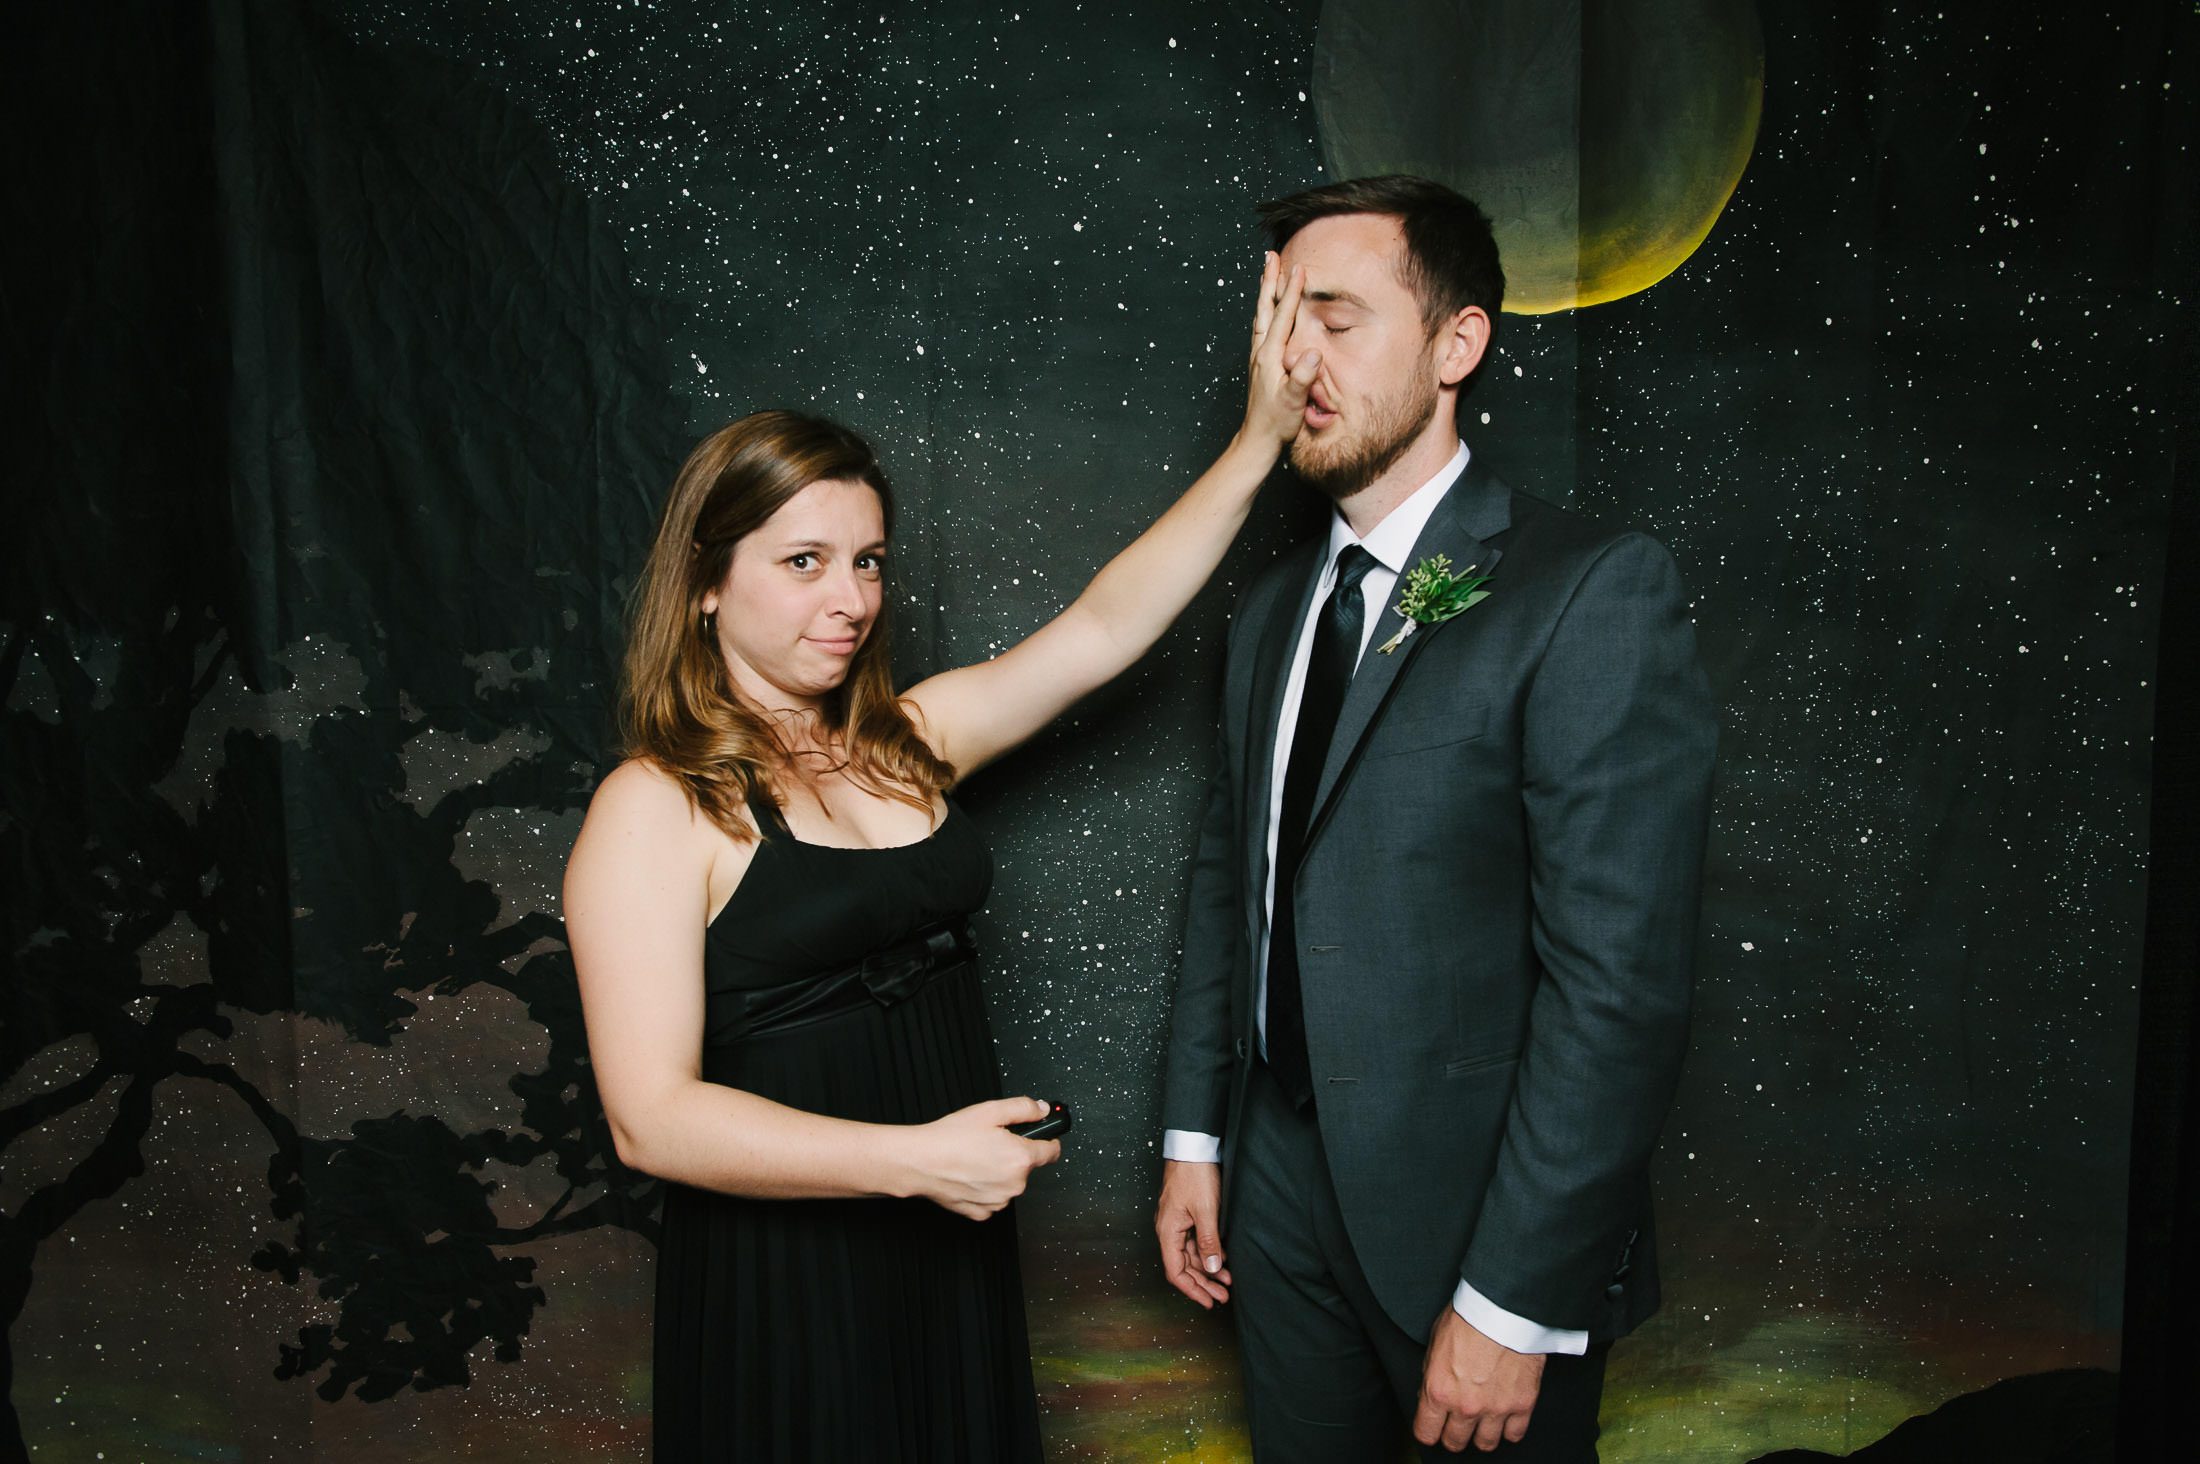
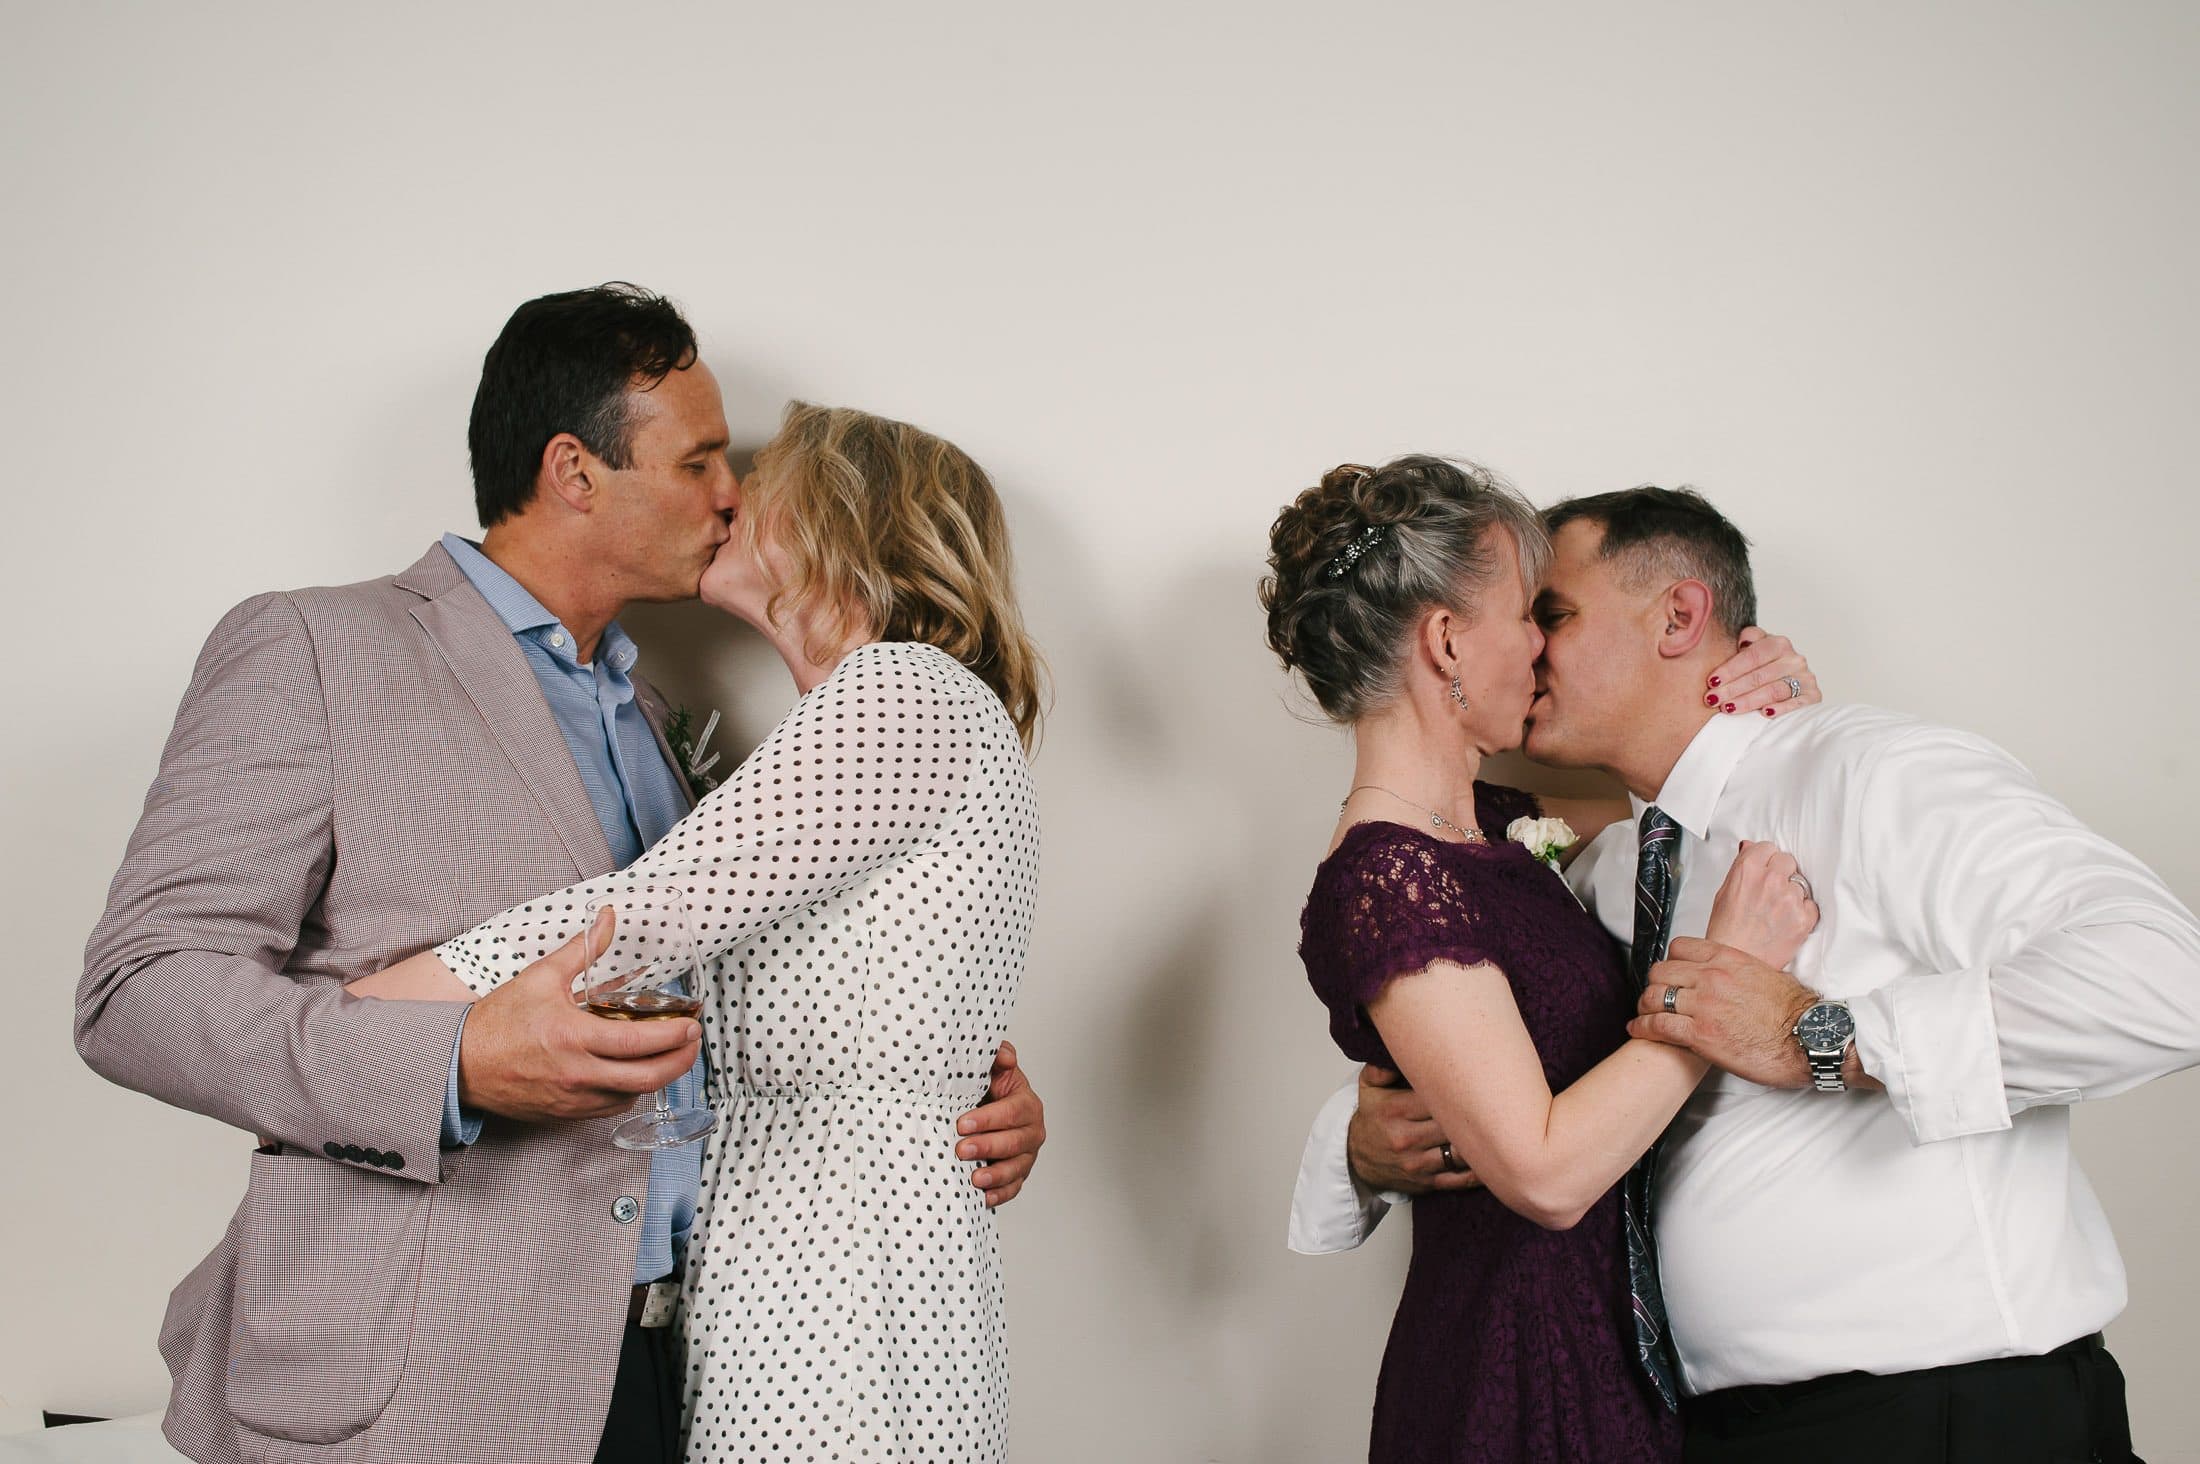
Photo Booth
If you have a family that loves to pose for the camera and wants to do a ton of group pictures, consider getting a photo booth or photo station. Photo booths are a great way to get more pictures of more people at your wedding, and they are fun. People can take as many group photos as they want, and while your photographer focuses on candid moments.


Dinner
That glorious time of the day when we get to eat amazing food. There are usually toasts, speeches, and lots of laughter. People are feeling more relaxed and comfortable. When people start putting food in their mouths, I usually stop taking pictures, sit down for a moment, and have a bite to eat myself. The wedding couple should eat too.
Eat
Yes, make sure to eat. No really. Eat. Don’t get hangry. The bride and groom should eat at the beginning of dinner service so that they will be done by the time toasts begin.


Seating
I love it when couples sit with their family and friends. While doing long tables and family-style dinner is not always an option, it is the configuration that I like the most. It tends to feel intimate and highlights the community feel. The sweetheart table is not my favorite. No matter what seating arrangement you decide on, one thing you can do to improve pictures is to make sure there is no tall bouquet in front of the couple.


Feed Your Photographer
Feed your photographer at the beginning of service when you are eating. Brain function slows, creativity stops, and in desperation, your photographer may start taking pictures of people stuffing their faces with a leg of lamb and grilled squash. Some caterers like to feed the vendors after all the guests have been served. This is less than optimal. Check in with your caterer to make sure that they know you want your photographer to eat toward the beginning of dinner. During certain times of the year, sunset falls during dinner time. If the bride, groom, and photographer have all eaten, it is easy to steal away for sunset pics.
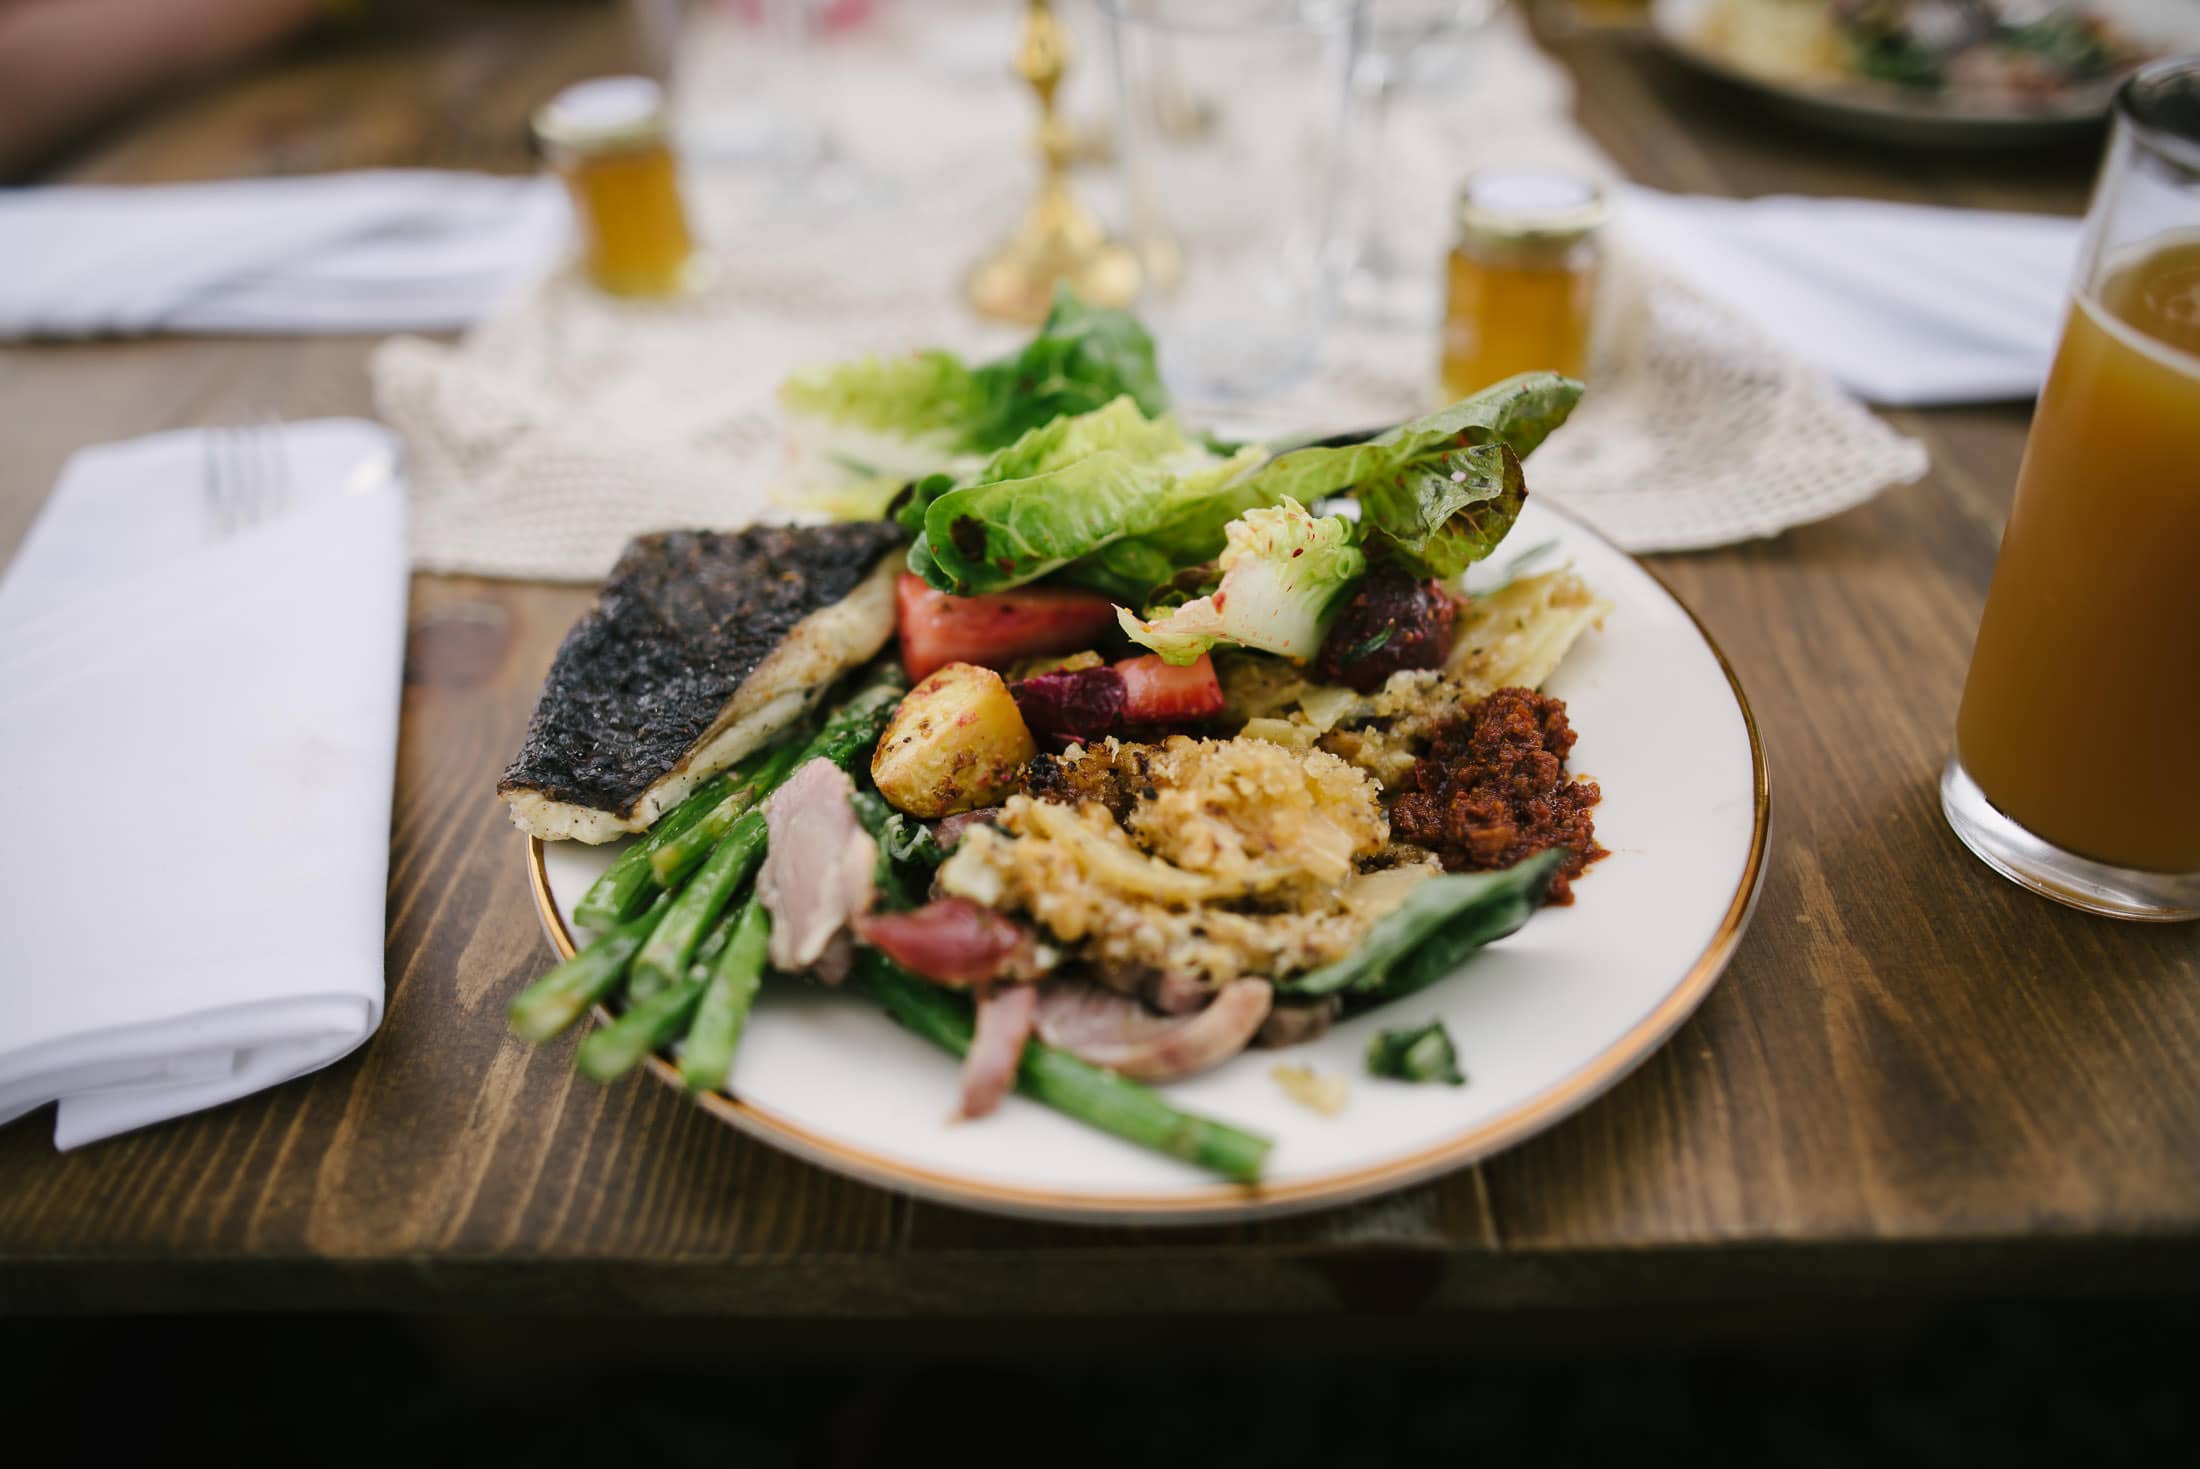
An awesome dinner at Full Belly Farm.
Toasts, Cake Cutting, and Dancing
The time of the day when people will be saying sweet things about the wedding couple. It is customary for parents and some members of the wedding party to speak. At least one person will thank people who traveled from far away to come to the wedding. After toasts come dessert and dancing. The couple may engage in the lovable tradition of cutting some sort of dessert and feeding one another.
Schedule Your Toasts
In some countries, it is customary to open the floor to anyone who wants to speak. Lots of toasts and very long dinners are usual. Since this is not typically the case in the United States, I highly recommend scheduling toasts. This is normally how it happens, but I still shoot weddings from time to time, where people spontaneously open the floor to anyone who wants to speak. Don’t let your drunk uncle give a 10-minute unprepared speech. Unless you are going for the Swedish model of wedding toasts, schedule your toast.
Keep Toasts Close to the Couple
It is helpful if the people giving the toasts or speeches stand next to the couple so that they can all be in one photo. Images with the couple in the same shot as the person toasting also feel more intimate.


Don’t Eat During Toasts (Eat Before)
Make sure that the couple has finished eating by the time the toasts begin. Nobody wants pictures of themselves mid-bite. Also, make sure that there is not a big bunch of flowers in front of the couple.
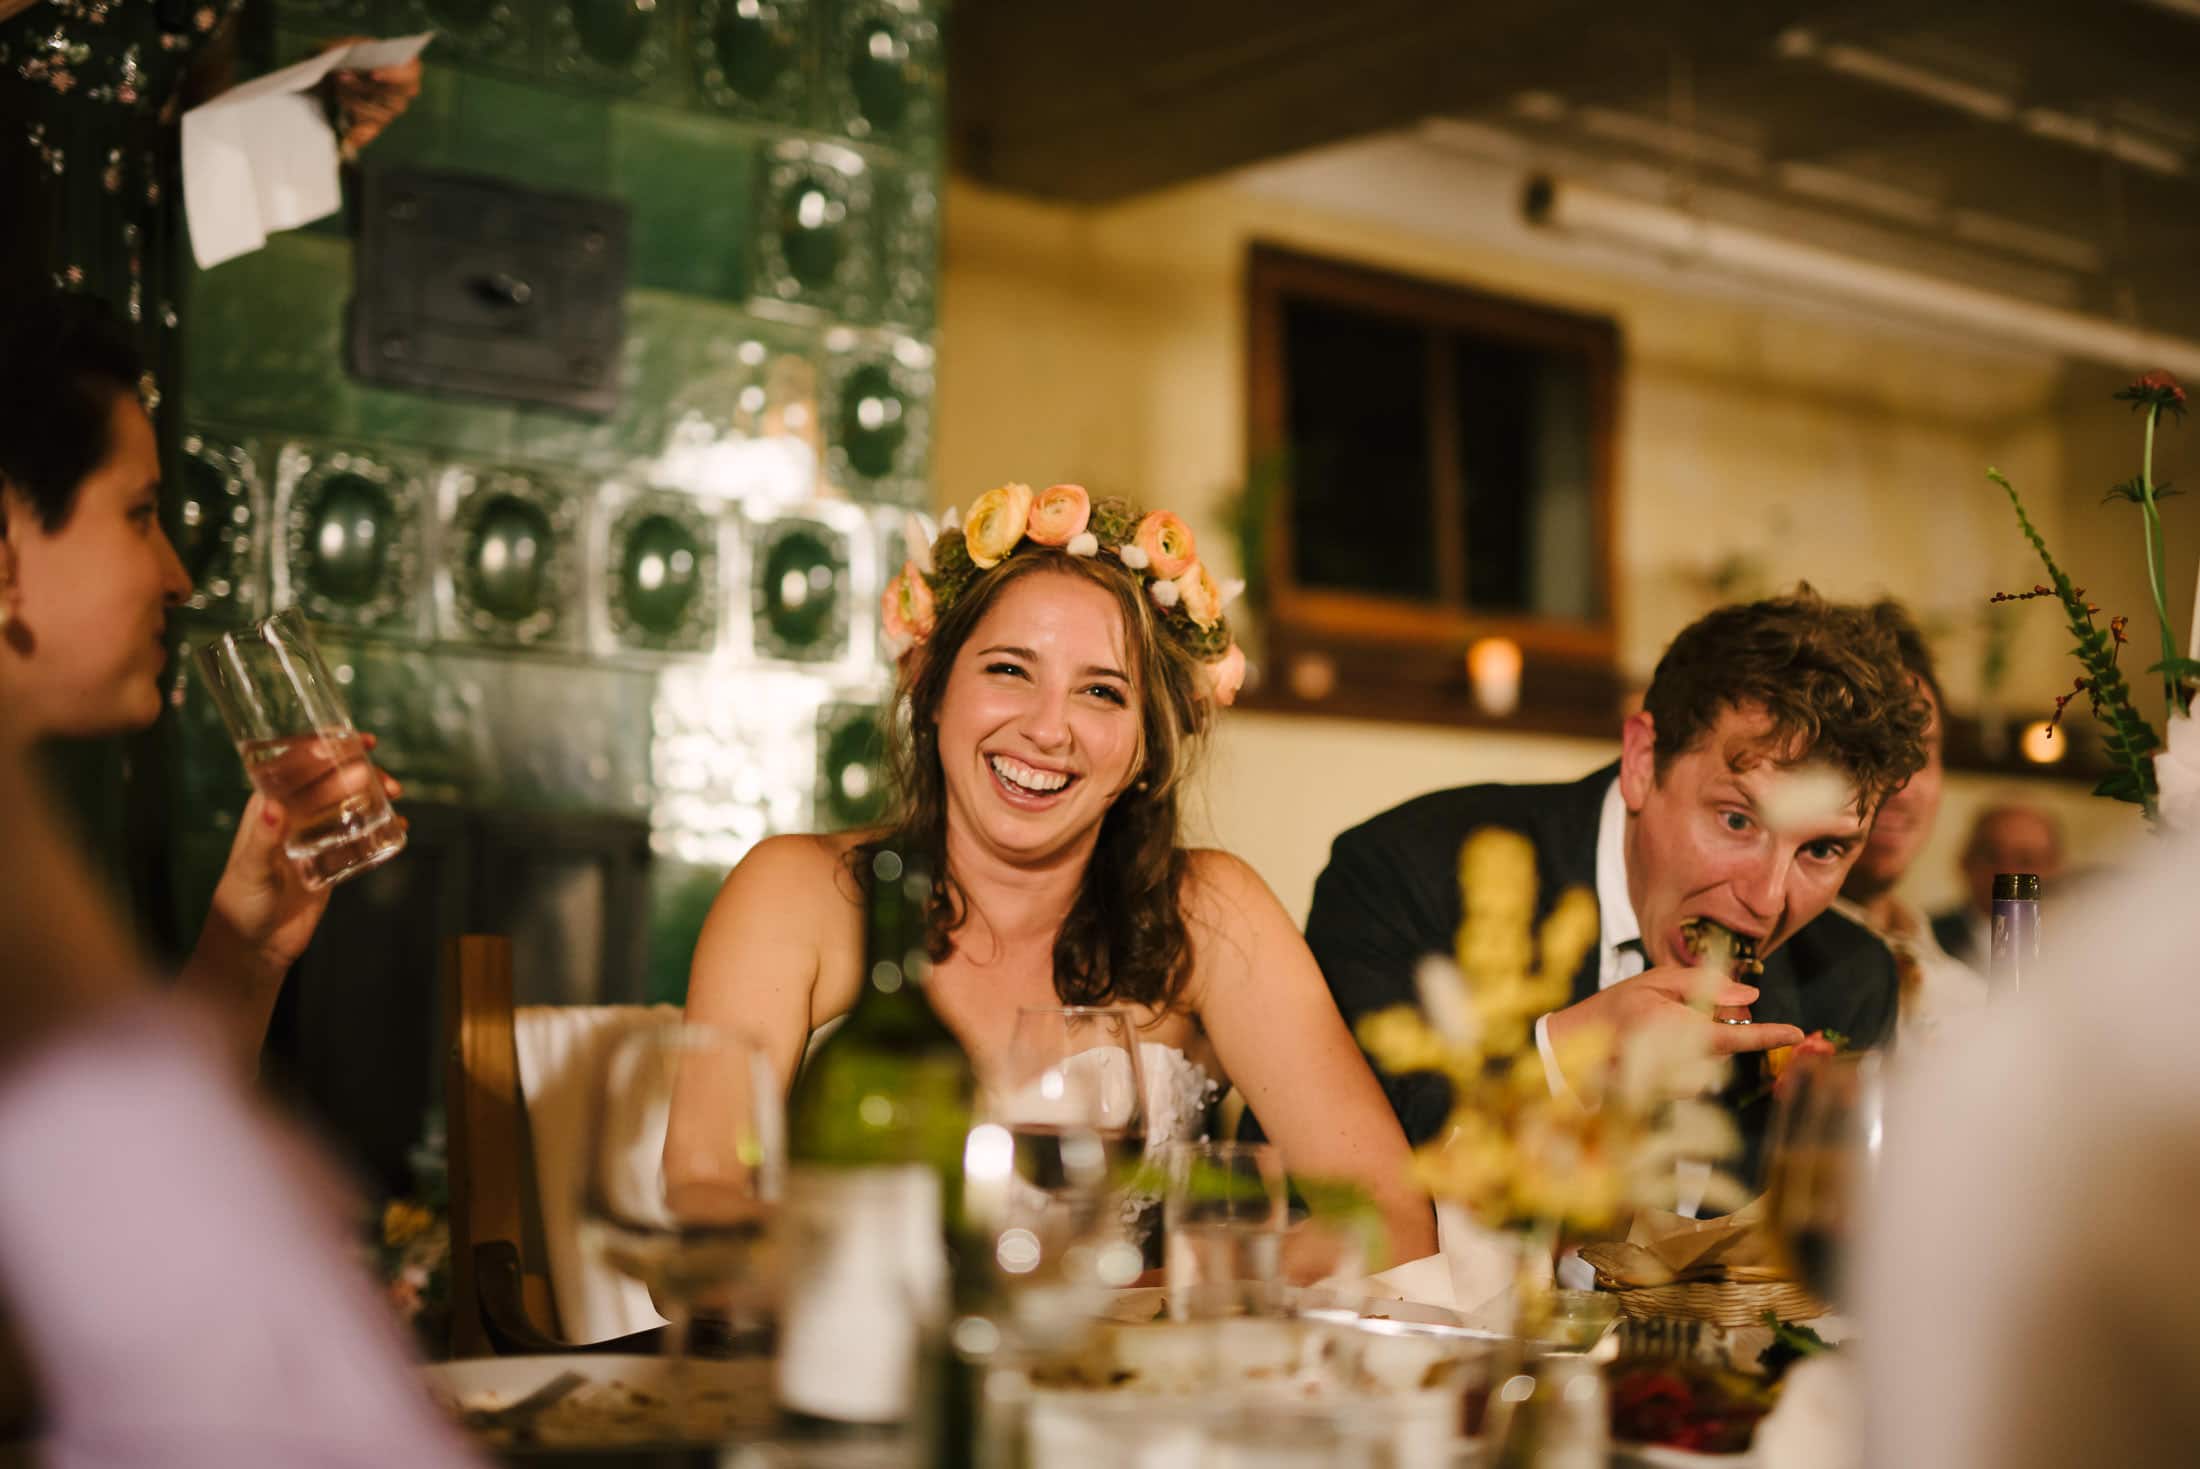
From the out-takes folder. Please eat before toasts.
Cake Cutting is Still Cool
Cake cutting seems like such a funny old tradition, but it has succeeded in remaining a part of most of the weddings I shoot. As far as old traditions, I think it is a fun one. There doesn’t need to be any cake smashing for it to make a great picture. It is customary for the couple to cut a slice of cake together, put it on a plate, and then feed each other a bite of said cake. Pro tip: Stand behind the cake, facing guests, when cutting dessert.


No Red Lasers
Green and red lasers will not make your guests dance more, but they will make dance floor pics look a little funny. Thankfully, these light shows are not as prevalent as they were a couple of years ago. If your DJ offers, maybe ask them to NOT use the green and red lasers.


Dim the Lights.
A brightly lit dance floor to make people feel like it is closing time. Dim the lights. Get people in the mood. Your photographer should be able to get great dance floor pics with their own lights (flashes) and any available light.


Keep the Dance Floor Small
A small dance floor with 50 people will feel like a rockin’ party. A big dance floor with the same number of people may feel less bumpin’. Consolidate the energy.


Trust Your DJ
Find a DJ you trust—someone whose style, energy, and mixes genuinely resonate with you. Great DJs do more than just play music; they read the room, feel the vibe, and help shape the energy of your celebration. Many will ask you for a short list of must-play songs, which is helpful, but resist the urge to micromanage every track. Give them the freedom to do what they do best: respond to the mood of the crowd and keep the party flowing.
The dance floor has a natural rhythm. It might take a little time to warm up, especially after dinner or emotional toasts, and that’s totally normal. Don’t worry if people aren’t packed in from the very first beat. Trust the process, trust your DJ, and remember—it only takes a few people to start a great dance party. Once it builds, it’s magic.

A Few More Tips
Be yourself.
Just because something is traditional—or trending—doesn’t mean it’s right for you. There’s no one “correct” way to plan or experience a wedding. Let go of expectations and create a celebration that feels true to who you are, whether that means eloping on a mountaintop, having a backyard dance party, or hiring a magician for cocktail hour. Make it yours. That’s where the magic happens.


Ditch the pacifier.
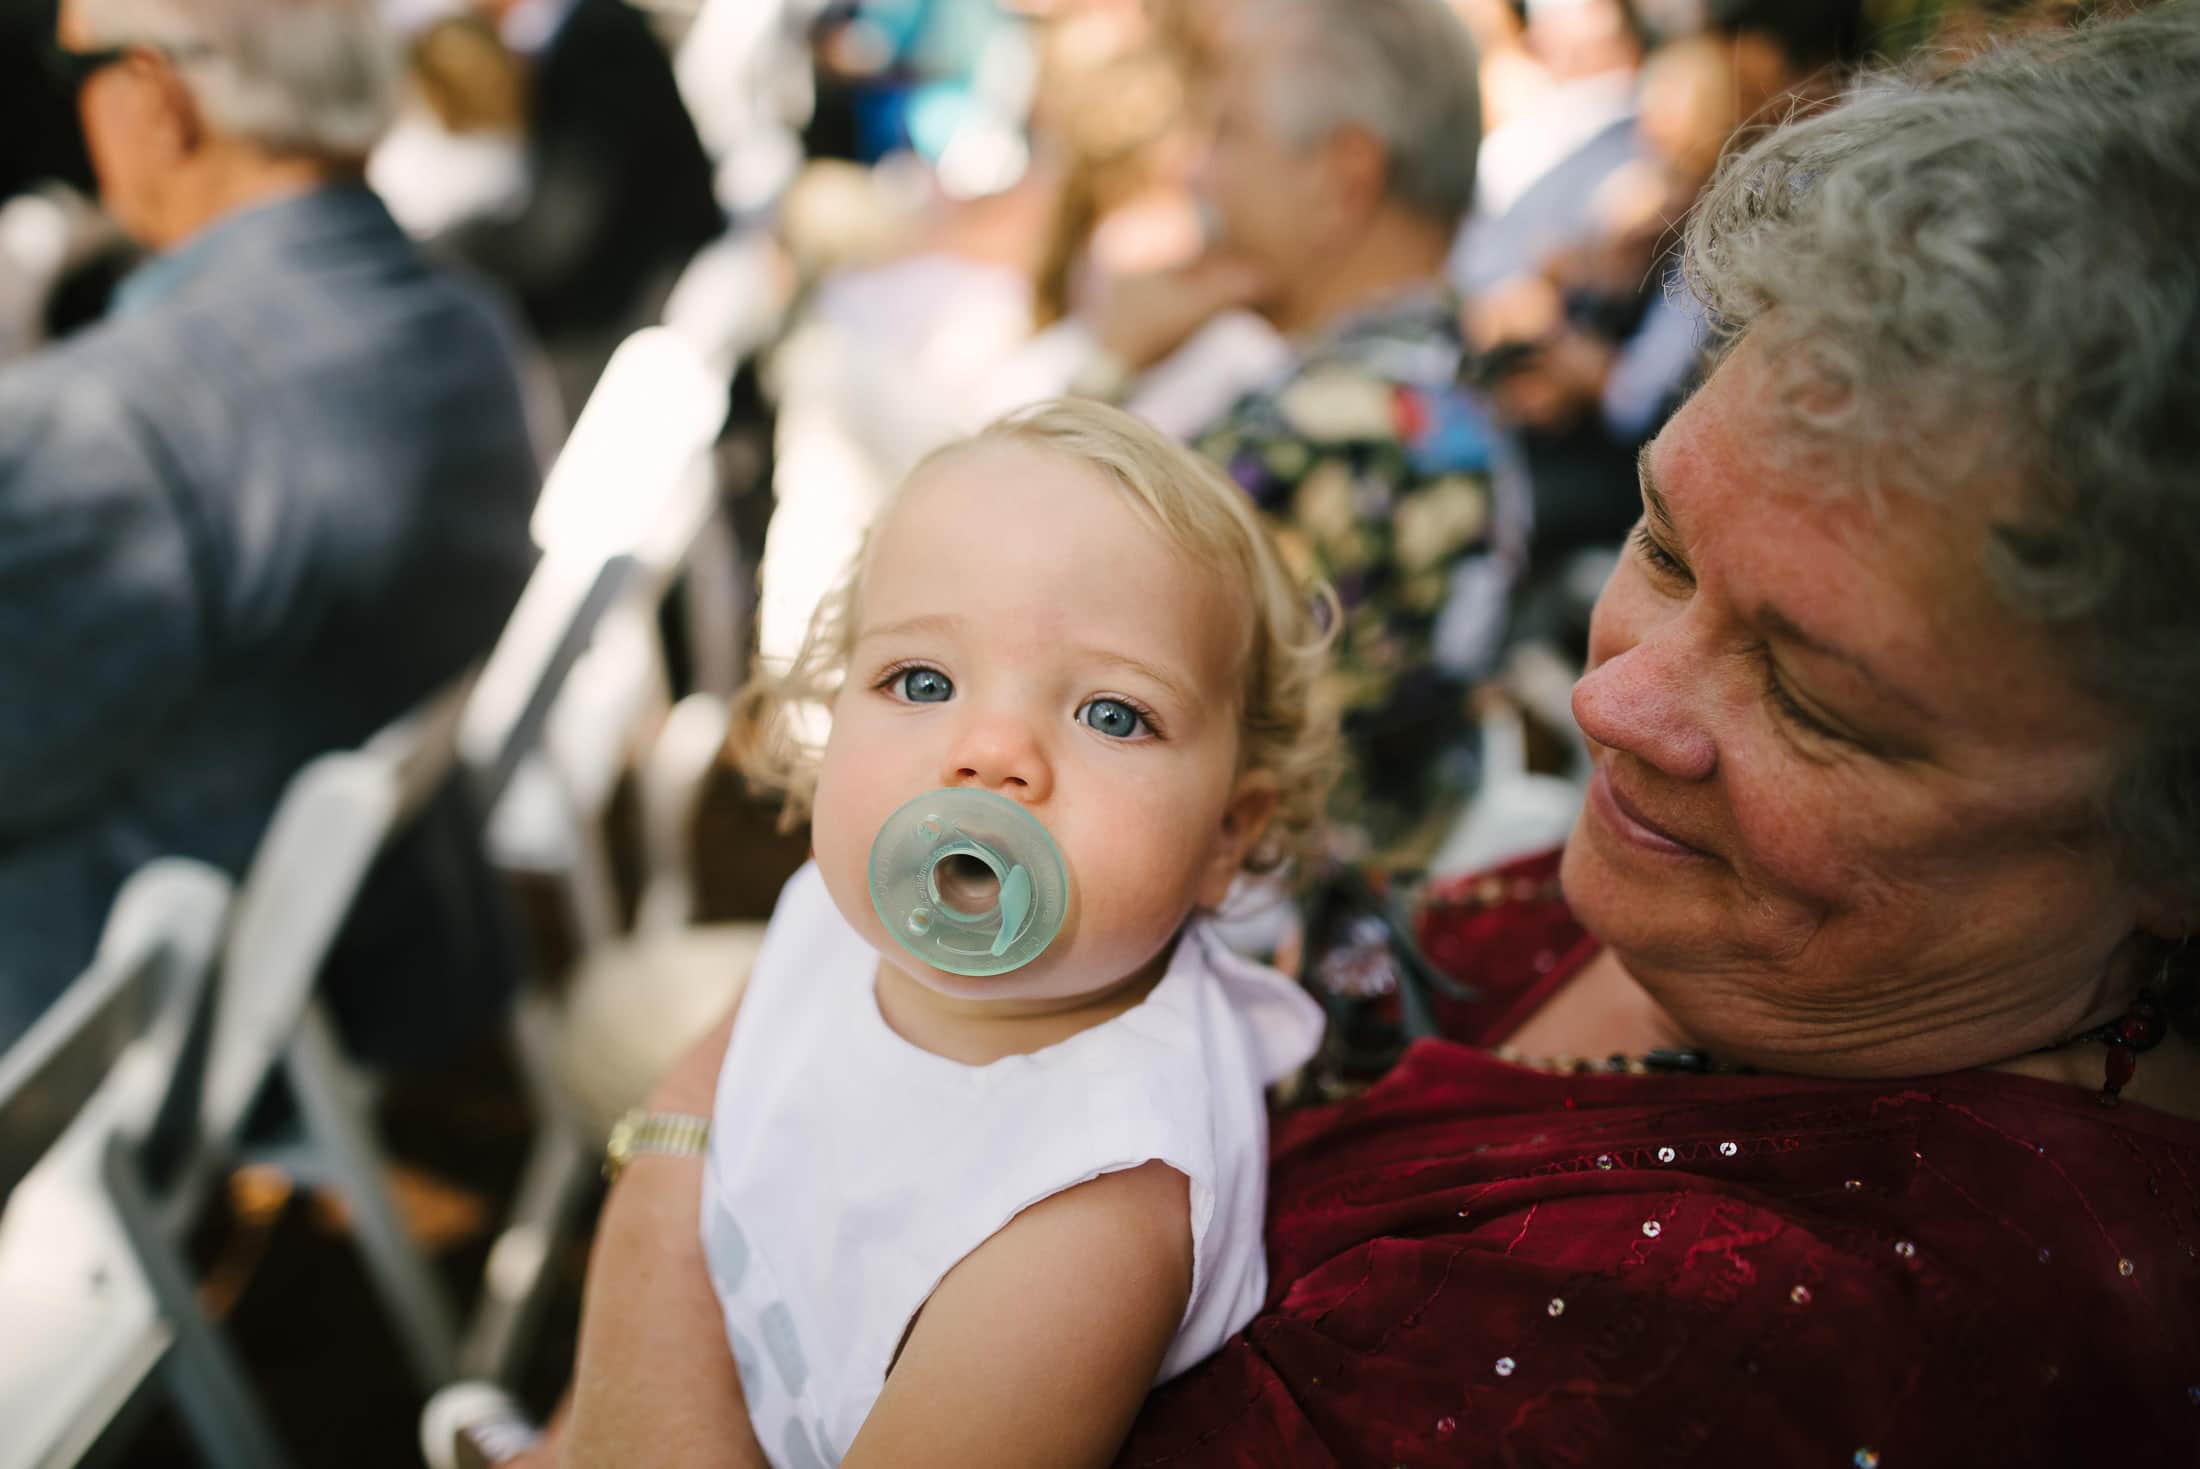
This baby is super cute and would be even cuter without the pacifier.
Love the Earth. Say “no” to plastic water bottles.
Use large water containers and paper cups instead of plastic water bottles and cups. Single-use water bottles and cups are unattractive and not good for the environment. Leave them out of your wedding. Please. Give your guests cups or glasses that they can put their name on and take home at the end of the wedding.
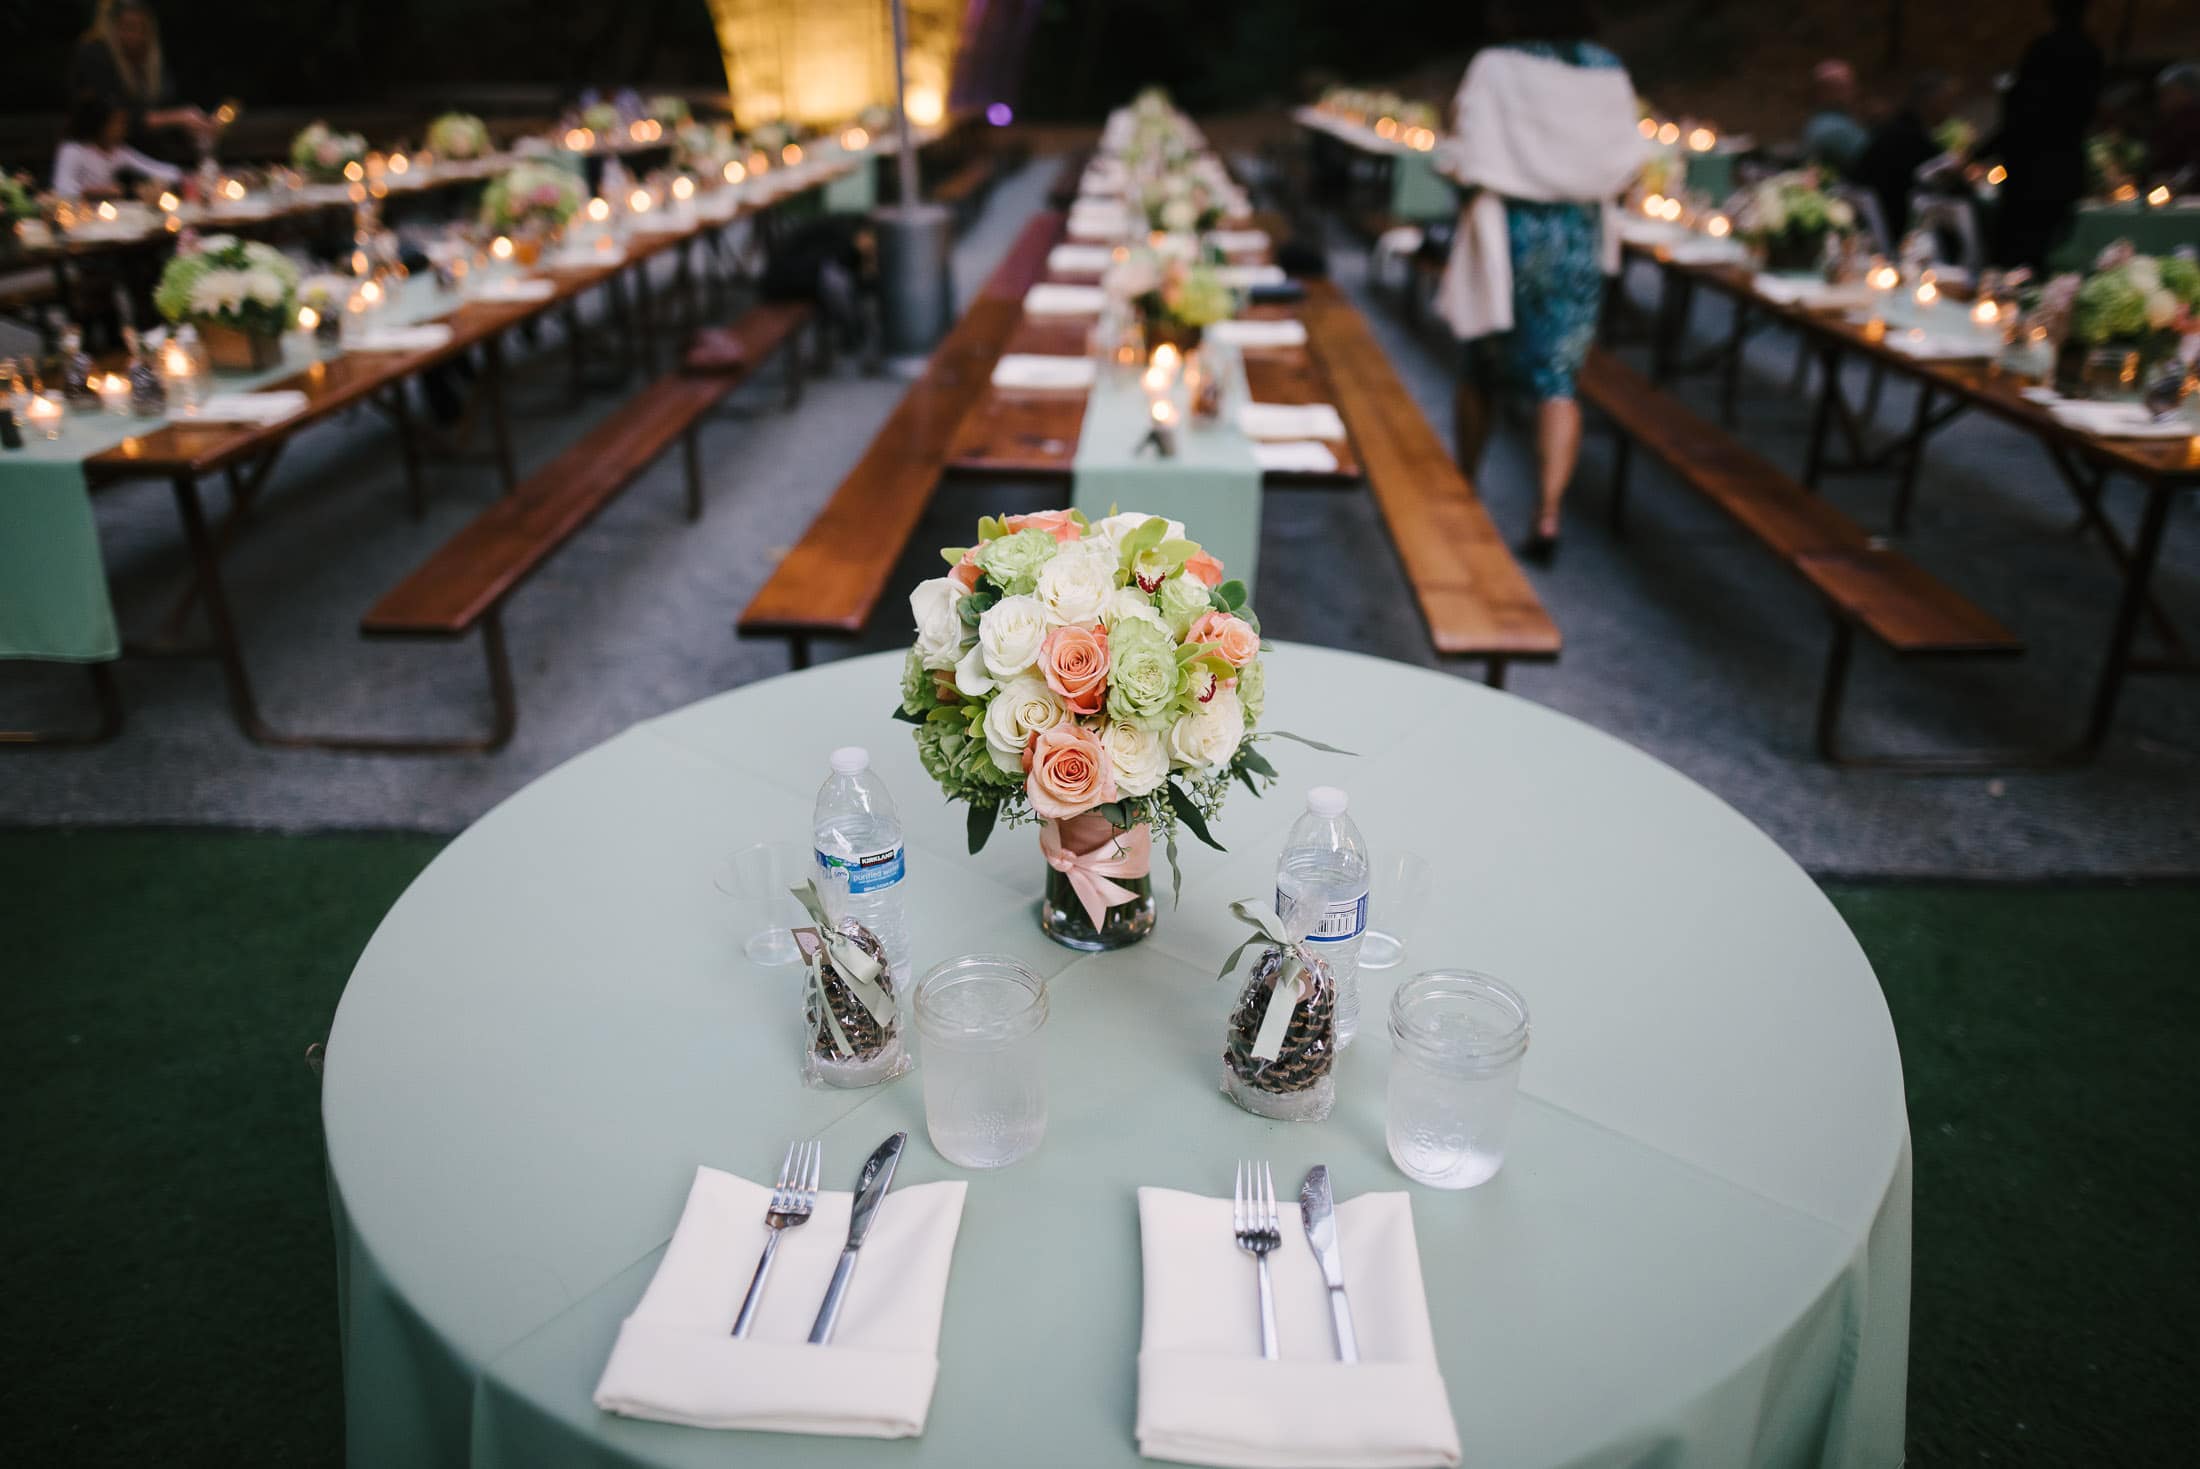
There are plastic water bottles, plastic cups, and glass cups (and plastic-wrapped pinecones) on this sweetheart table. Why?
 Incredible reusable mugs for guests to put their beverages in and take home at the end of the wedding. SO COOL!

Reusable water bottle as a wedding gift.
Replace orange extension cords with black ones.
If you are throwing a country or camping wedding, the chances are good you will be running power for lights, speakers, or something else. Use black extension cords instead of orange ones.

Final Words
If you want to throw a kick-ass wedding that looks great and runs smoothly, ask for help. Planning an awesome wedding is no small feat. Weddings have so many moving parts. Get a wedding planner, ask friends to assist, and see if your vendors have helpful resources. Most people like to be helpful. I have touched on just a handful of things that you can do to easily improve the look and feel of your wedding. Undoubtedly, I have missed some things and ignored some others, but hopefully, this will give you ideas and help make your wedding planning easier and less stressful.
Me? What did I do?
When planning my wedding, I broke most of the rules. You can check out my wedding here.